How to Play the Blackmar-Diemer Gambit Accepted Ziegler Defense
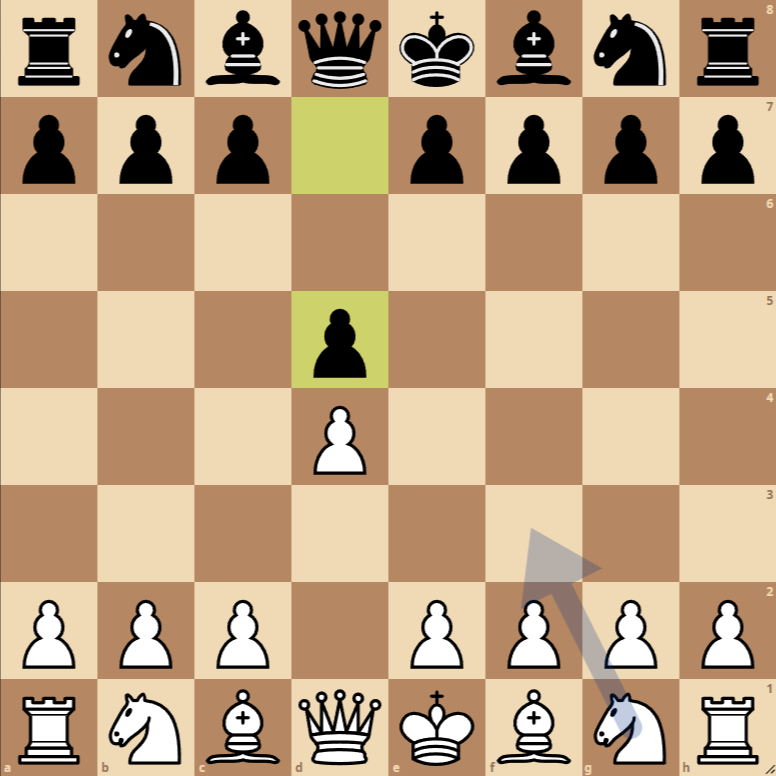
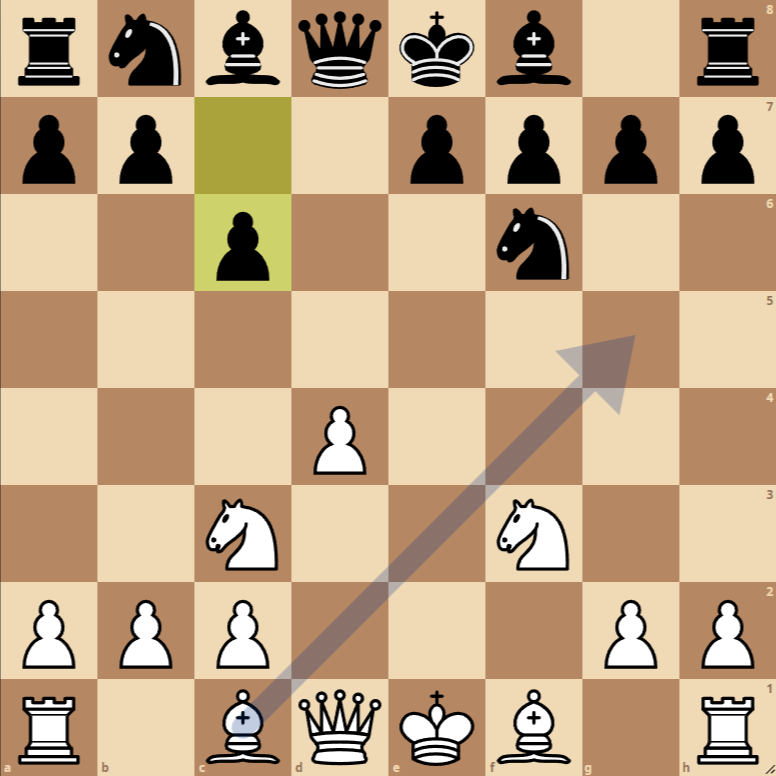
- 1. d4 d5: White begins by controlling the center and preparing the development of their bishop, while Black responds by mirroring the move to maintain balance.
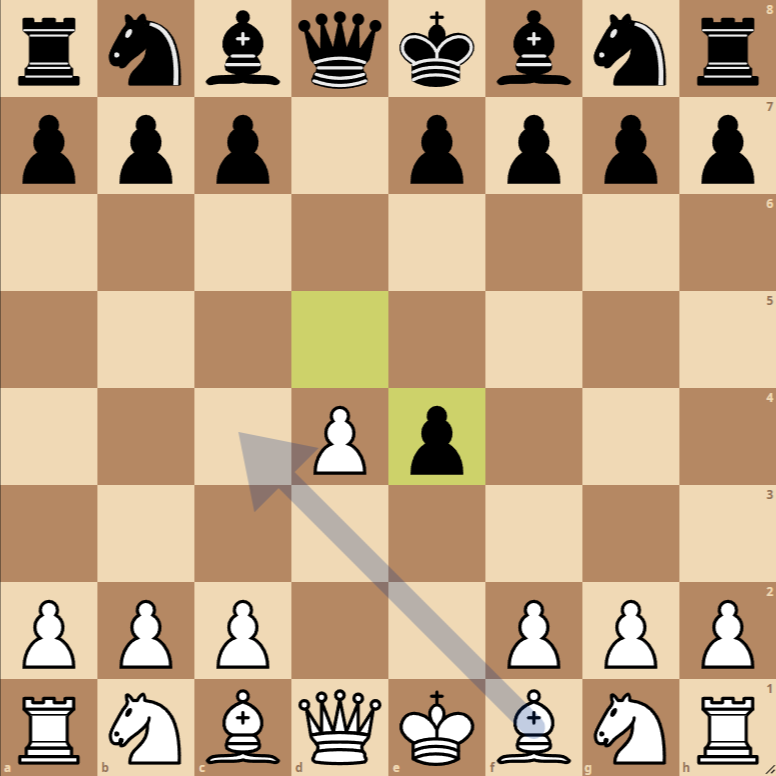
- 2. e4 dxe4: White offers a pawn to unbalance the center and open lines for their pieces. Black accepts the gambit, taking the pawn on e4.
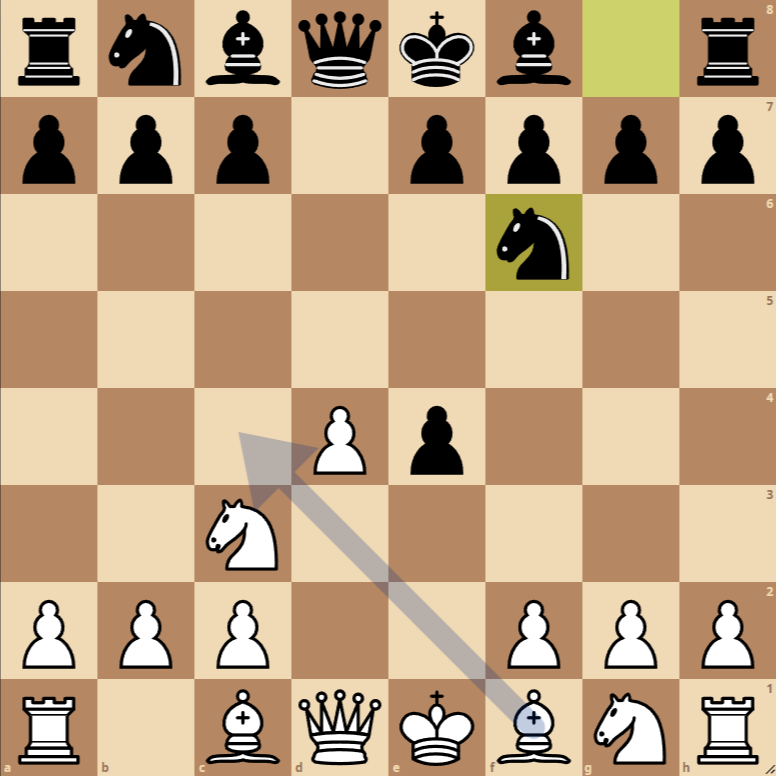
- 3. Nc3 Nf6: White develops a knight, aiming at the pawn on e4 and preparing to regain material. Black develops a knight, protecting the pawn on e4 and controlling the center.
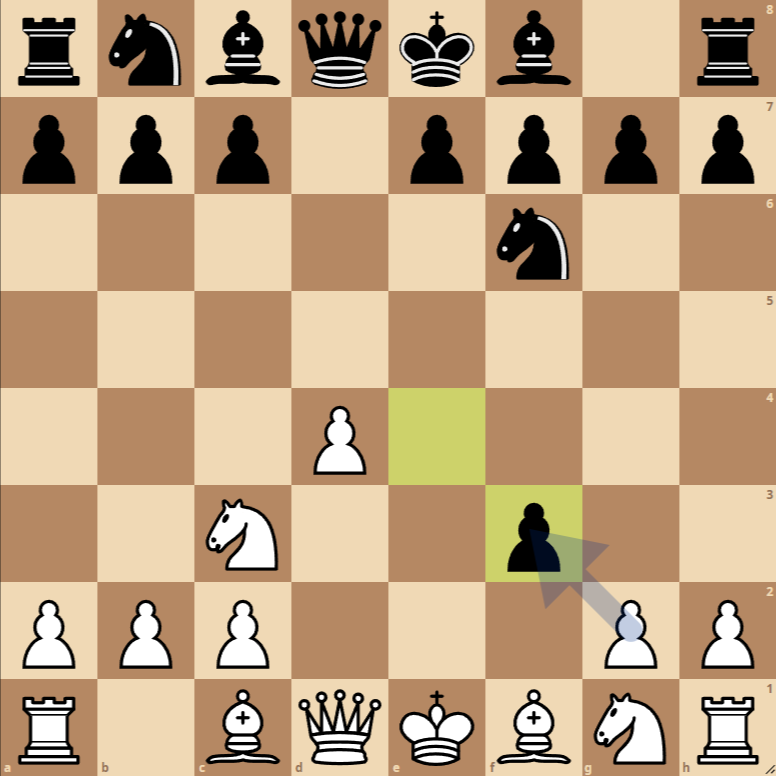
- 4. f3 exf3: White attempts to recapture the pawn by offering another pawn, looking to activate their king’s bishop. Black accepts the exchange, maintaining the material advantage temporarily.
- 5. Nxf3 c6: White recovers the pawn with the knight, developing the piece and preparing to castle. Black plays c6, strengthening the center and preparing for potential expansion of their bishop.
Variants of the Blackmar-Diemer Gambit Accepted Ziegler Defense
Variant 1: 2… e6
Instead of accepting the gambit immediately, Black can choose to solidify their center with 2… e6, preparing for a more cautious development.
Variant 2: 3… e5
After 3. Nc3, Black can directly challenge White’s center with e5, aiming to activate their dark-squared bishop and offering a more dynamic game.
Variant 3: 4… Bf5
After 4. f3, instead of capturing on f3, Black can develop their bishop to f5, pointing towards the center and preparing for long castling, adding pressure to the d4 pawn.
In the Blackmar-Diemer Gambit Opening
One of the most intriguing systems for chess enthusiasts is the Ziegler Defense, characterized by the early exchange on e4. This article explores the tactical and strategic complexities of the resulting position after 1. d4 d5 2. e4 dxe4 3. Nc3 Nf6 4. f3 exf3 5. Nxf3 c6, with a focus on how both sides can plan their moves.
Strategies and Tactics for White
White has sacrificed a pawn to achieve rapid mobilization of their pieces and the opening of lines that can facilitate attacks on the opponent’s king. The position suggests several strategic options:
- Ac4: Moving the bishop to c4, White directly targets the weak f7 square, which is particularly vulnerable in openings. This move sets the stage for rapid bishop development and potential tactics against the opponent’s castled king.
- Ad3: Placing the bishop on d3, White aims to reinforce control over the center and prepare for eventual pawn advances on the kingside. This move also sets up the possibility of a discovered attack on the opponent’s king, depending on how Black’s pieces develop.
- Ag5: By developing the bishop to g5, White puts pressure on the knight on f6, a key piece in Black’s defense. This move can also pave the way for sacrificing the bishop on f6 and opening the h-file for a rook attack.
Strategies and Tactics for Black
Black has accepted the gambit and is in a solid position, but must be cautious about White’s rapid development and attacking attempts. Some strategic considerations include:
- Maintain a Solid Pawn Structure: It’s crucial for Black not to unnecessarily weaken their pawn structure, which could create easy targets for White’s attack.
- Rapid and Safe Piece Development: Black should focus on developing their pieces effectively, especially their dark-squared bishop and queen, to counter White’s plans.
- Counterplay in the Center and Queen’s Flank: While White aims to attack on the kingside, Black can look for opportunities to counterattack in the center and on the queen’s flank, taking advantage of the fact that White has committed some of their pieces to the attack.

