How to Play the Blackmar-Diemer Gambit Accepted Holwell Defense Opening


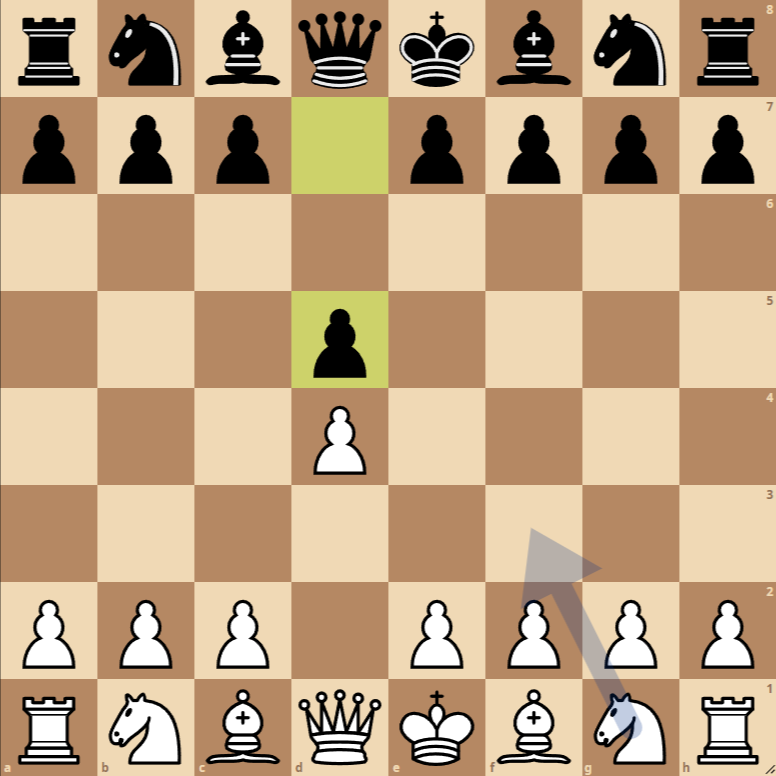
- 1. d4 d5: White starts with the queen’s pawn advancing two squares, aiming to control the center and facilitate the development of minor pieces. Black responds symmetrically, also advancing their queen’s pawn two squares, establishing central control.
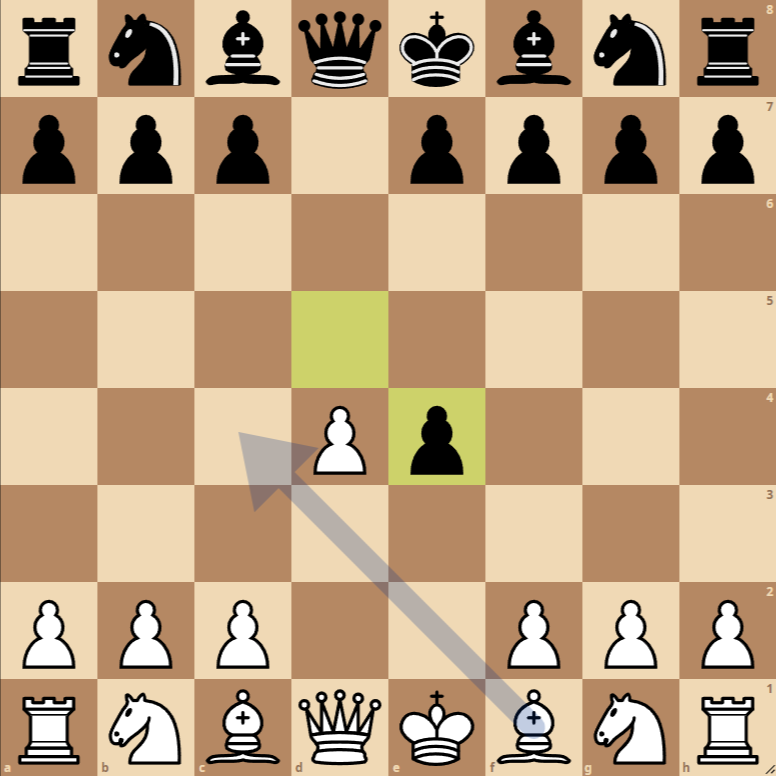
- 2. e4 dxe4: White offers a pawn with the gambit, seeking to activate their pieces quickly. Black accepts the gambit, capturing the pawn on e4. This exchange opens lines for the development of both players’ pieces.
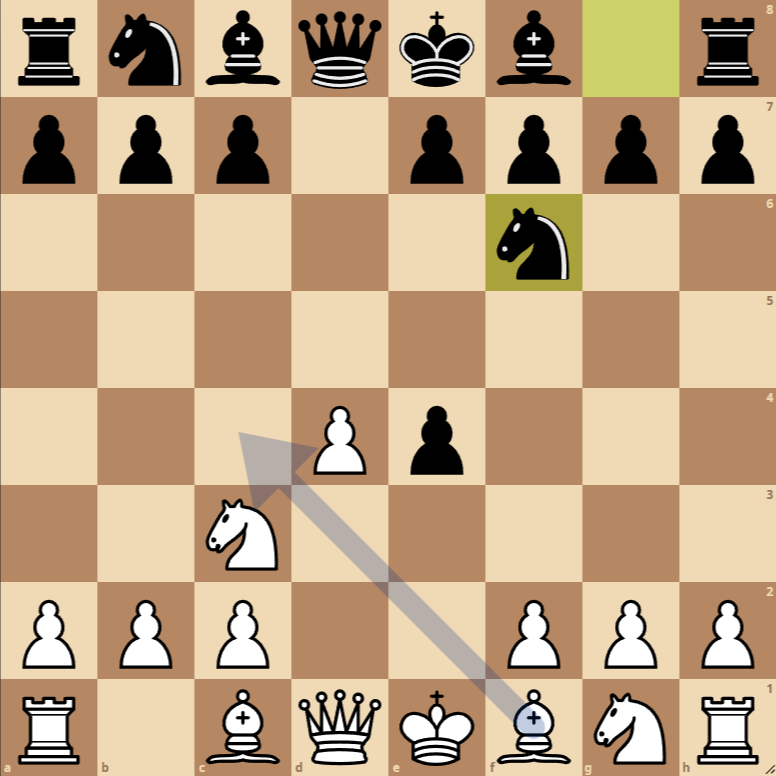
- 3. Nc3 Nf6: White develops their knight to c3, putting pressure on the pawn on e4 and preparing to recapture it. Black develops their knight to f6, defending the pawn on e4 and controlling the center.
- 4. f3 exf3: White aims to break the defense of the pawn on e4 with their f-pawn, attempting to regain material and open lines for their pieces. Black accepts the sacrifice by capturing the pawn on f3.
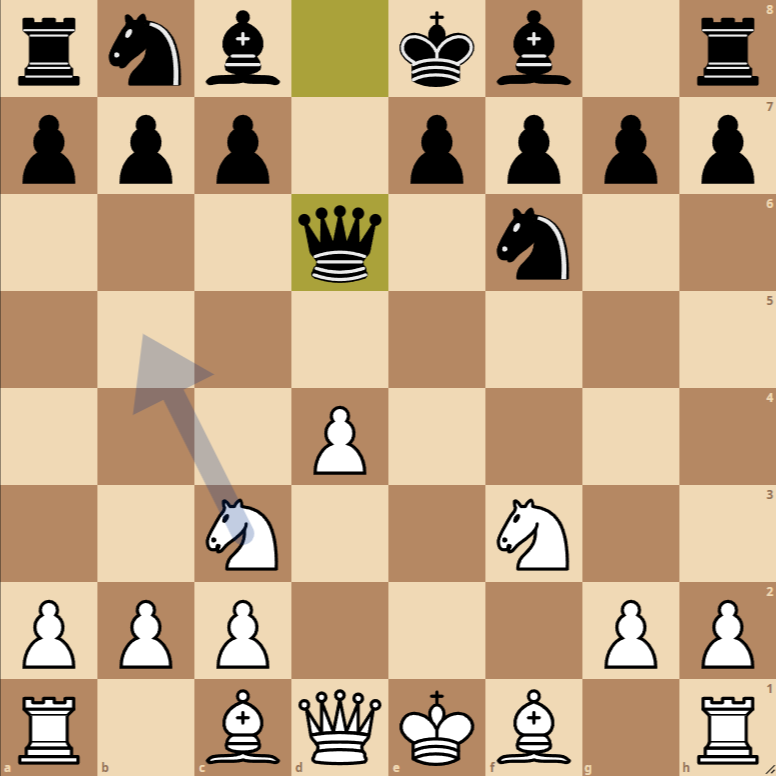
- 5. Nxf3 Qd6: White recovers the pawn with their knight, increasing pressure in the center and preparing for bishop development and kingside castling. Black responds with the queen to d6, a less common move aiming to exert pressure in the center and possibly prepare long castling.
Variations of the Blackmar-Diemer Gambit Accepted Holwell Defense Opening


1. … e6
A popular variation for Black after 1. d4 is to play e6, aiming for solid and flexible development without immediately accepting the gambit. This line can lead to more closed pawn structures and positional play.
2. … c6
Another possible response for Black after 1. d4 d5 is to play c6, preparing for d5 or supporting the center without committing to pawn structure too early. This variation aims to maintain a solid structure and prepare central expansion at the right moment.
The Opening Developed through Moves 1. d4 d5 2. e4 dxe4 3. Nc3 Nf6 4. f3 exf3 5. Nxf3 Qd6
This leads us into a variation of the Blackmar-Diemer Gambit, specifically the Holwell Defense after 5…Qd6. This position is characterized by dynamic and tactical play, where White has sacrificed a pawn for initiative and attacking chances in the center and kingside.
Strategies and Tactics for White:
White has opted for an aggressive strategy from the beginning, aiming to compensate for the sacrificed material with rapid piece development and threats against the Black king. Options like 6. Nc4, 6. Nd3, and 6. Nb5 are critical to maintain the pressure, and each prepares a different plan:
- 6. Nc4: Seeks direct pressure on the weak f7 square in Black’s position. This move sets the stage for tactical maneuvers and potentially a direct attack on the king if White can coordinate their pieces quickly, especially the queen and bishop.
- 6. Nd3: Aims to reinforce the center and prepare for pawn advances in the center or kingside. Additionally, the bishop on d3 supports the pawn advance to g4, which can be useful in opening lines towards the Black king.
- 6. Nb5: Looks at the c7 square, creating an immediate double attack threat that can force Black to divert their pieces or win material if not responded to properly. This move also contributes to initiative and tactical play, forcing Black to defend.
Strategies and Tactics for Black:
Black, on the other hand, must be cautious but also seek counterplay. The move 5…Qd6, besides developing the queen, prepares long castling and potentially coordinates the rooks in the center. To maintain balance, Black should:
- Continue developing their pieces, especially the bishops, and aim for kingside castling to ensure the king’s safety.
- Watch out for immediate threats in the center and around their king, preparing to counteract White’s offensive intentions.
- Look for opportunities to counterattack, especially if White overextends or neglects their own king’s safety.

