How to Play the Blackmar-Diemer Gambit Accepted Kaulich Defense
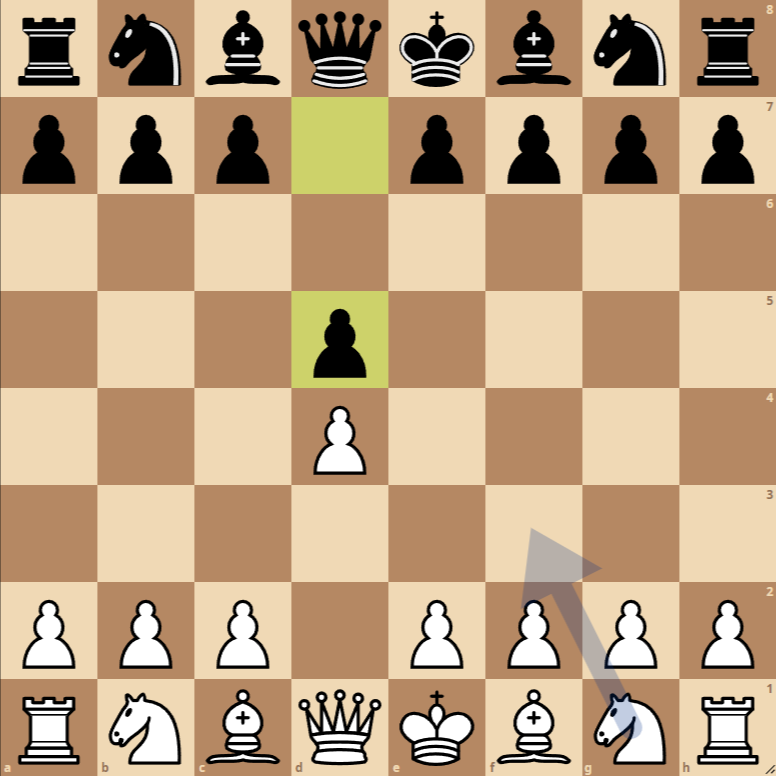
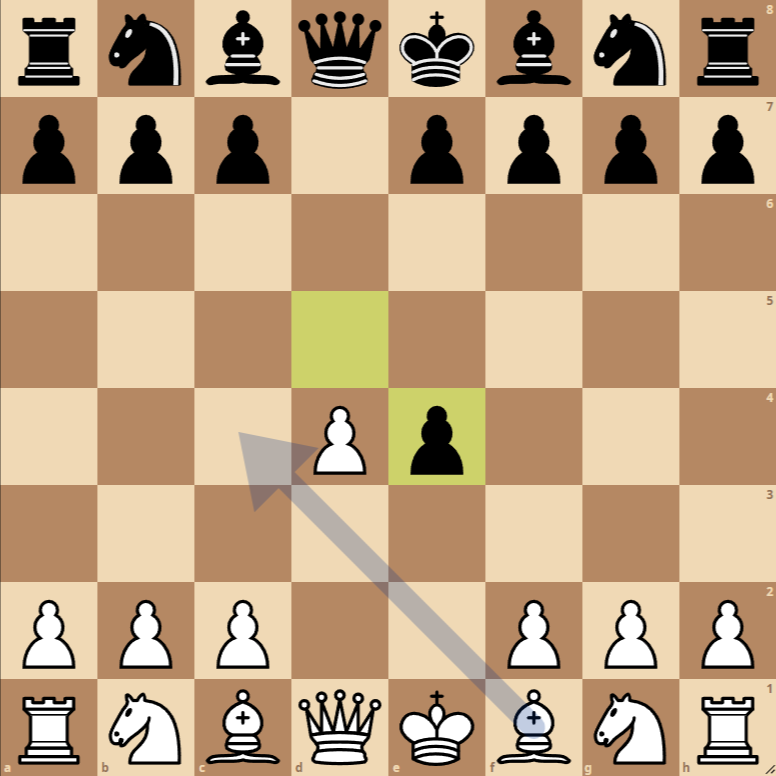
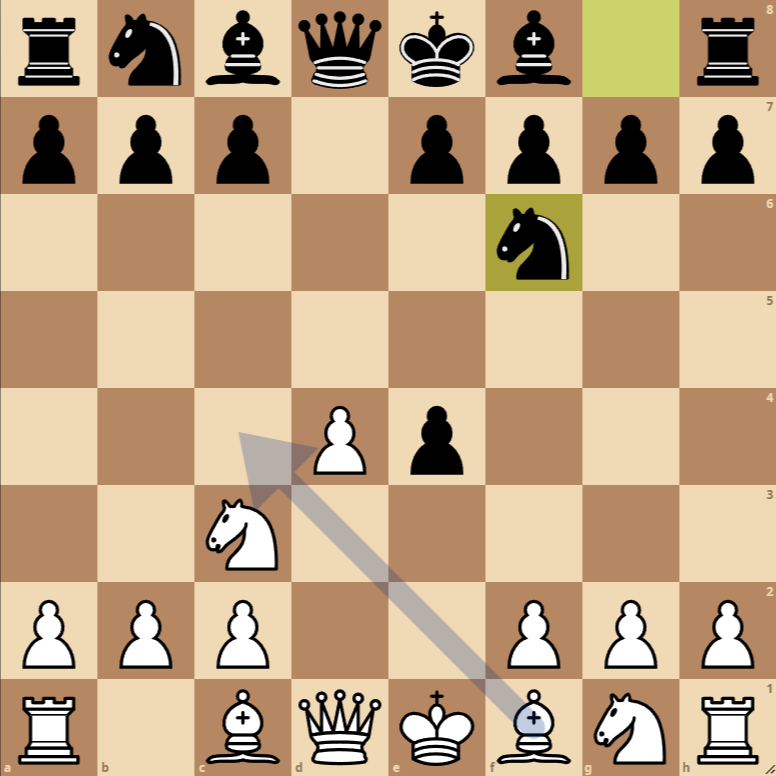
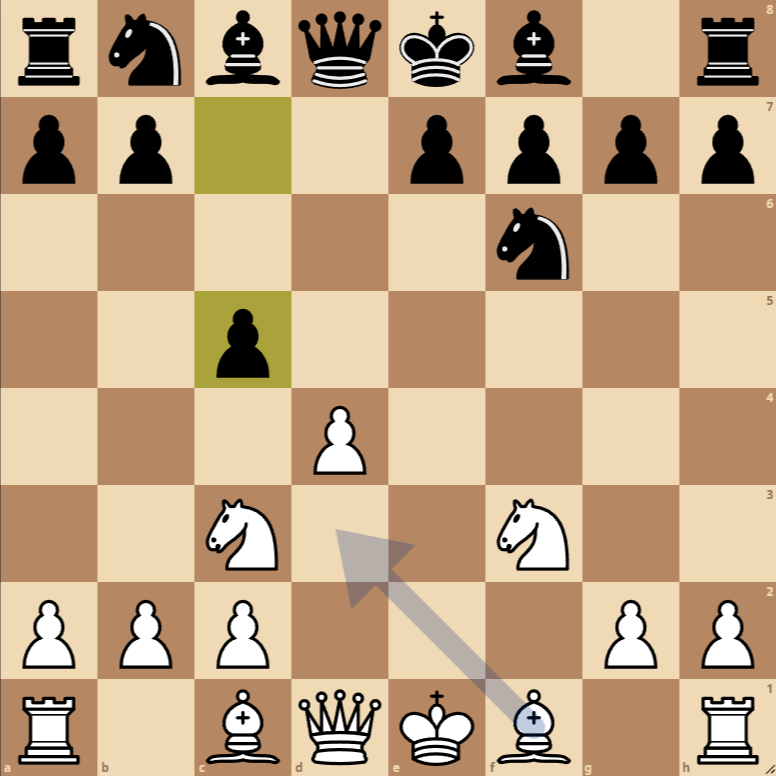
- 1. d4 d5: White starts by controlling the center, and Black responds likewise, preparing their defense and advancing their queen’s pawn.
- 2. e4: White offers a gambit to divert the d5 pawn, attempting to dominate the center and open lines for their pieces.
- dxe4: Black accepts the gambit, capturing the pawn on e4. This opens the position, but in return, Black gains quicker development of White’s pieces.
- 3. Nc3: The knight develops toward the center, pressuring the captured pawn on e4 and preparing for recapture.
- Nf6: Black develops the knight, defending the pawn on e4 and preparing their king’s side pawn structure.
- 4. f3: White aims to break down the defense of the e4 pawn, preparing for a solid pawn structure in the center.
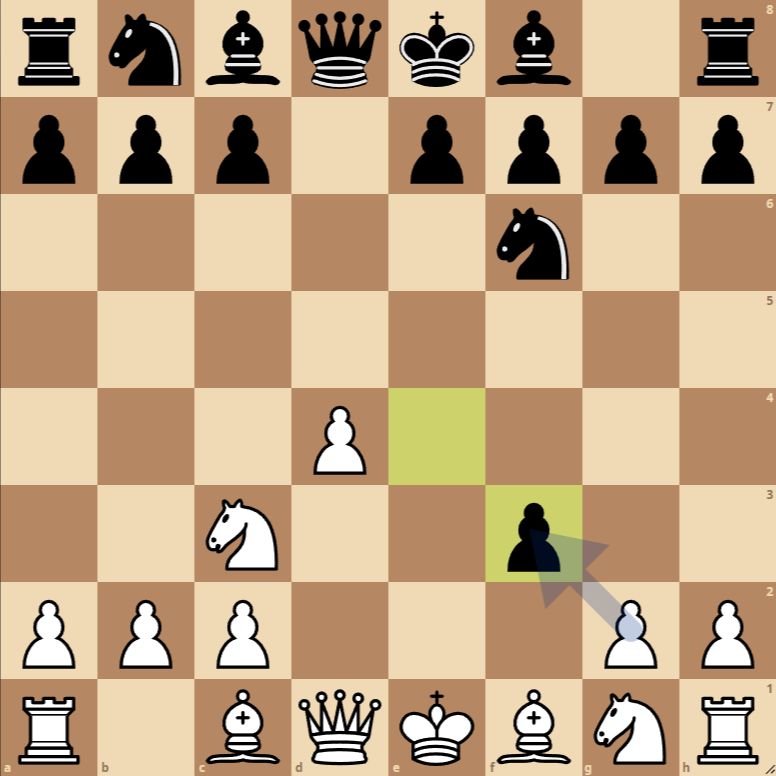
- exf3: Black decides to exchange pawns, maintaining tension in the center and forcing White to recapture, costing White some time.
- 5. Nxf3: Recapture of the pawn with the knight, developing another piece while maintaining pressure in the center.
- c5: Black counterattacks in the center, challenging White’s pawn structure and seeking to activate their pieces more effectively.
Variations of the Blackmar-Diemer Gambit Accepted Kaulich Defense
1. … e6
A defensive variation that strengthens the center and prepares the development of the bishop on c8.
2. … c6
Preparation to advance d5 to d4, challenging the center and maintaining a solid pawn structure.
3. … Nc6
Development of the knight toward the center, pressuring d4 and preparing operations in the center and king’s side.
The Blackmar-Diemer Opening: Kaulich Defense
The opening that has developed through the moves 1. d4 d5 2. e4 dxe4 3. Nc3 Nf6 4. f3 exf3 5. Nxf3 c5 is known as the Blackmar-Diemer Gambit, specifically the Kaulich Defense after 5…c5. This line of play is characterized by its aggressive nature and tactical opportunities it offers to both sides, but with a particular focus on attacking possibilities for White.
Strategic and Tactical Analysis
Next, we will analyze the current position from a strategic and tactical perspective and explore the recommended moves d5, Bc4, and Bd3.
Strategies and Tactics for White
- Central Dominance and Rapid Development: White has sacrificed a pawn in the center to accelerate their development and seek a quick attack. The idea is to leverage the development and space advantage to launch an attack on the Black king before it can organize an effective defense.
- Moving d5: This move aims to expand White’s influence in the center and prepare the ground for offensive maneuvers, possibly opening lines for their rooks and queen. d5 can also displace a key defender (e.g., a knight on f6) and open diagonals for the White bishop.
- Bc4 and Bd3: Both moves aim to develop the White king’s bishop to an active square from where it can exert pressure on the Black king’s side. Bc4 looks towards the f7 square, traditionally vulnerable in the Black position, while Bd3 supports the advance of the d5 pawn and maintains some flexibility, being able to relocate to other central squares if necessary.
Strategies and Tactics for Black
- Counterplay in the Center: Faced with White’s ambitious approach, Black must seek to activate their pieces quickly and counter in the center. The move 5…c5 aims to challenge White’s dominance in the center and open lines for their own pieces.
- King’s Safety: It is crucial for Black to pay attention to the safety of their king, given the aggressive nature of the opening. They may consider castling early or maintaining a solid pawn structure that hinders direct White attacks.
- Capitalizing on the Extra Pawn:

