How to Play the Accepted Blackmar-Diemer Gambit – Ritter Defense
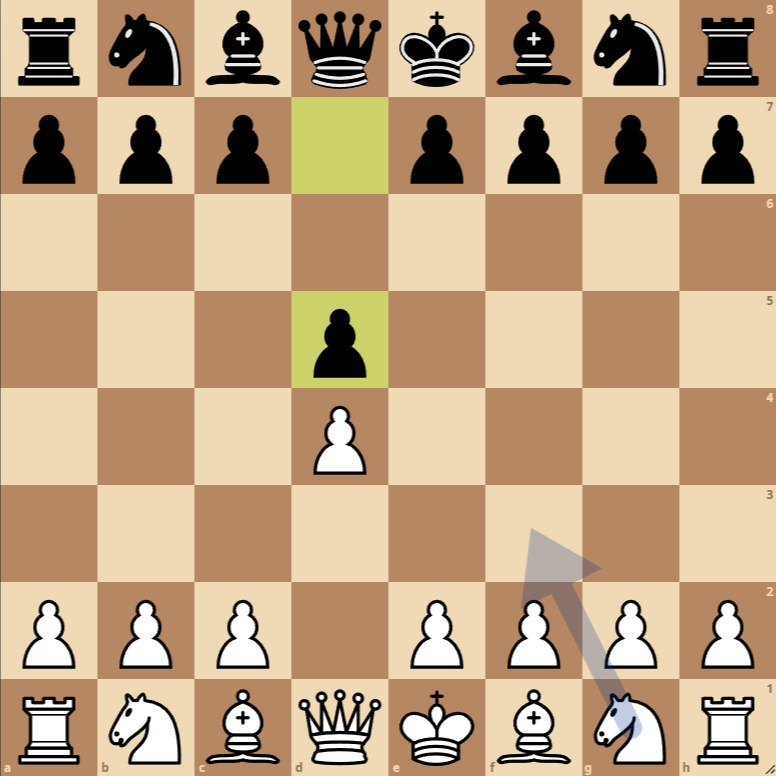
- 1. d4 d5: Whites open with the queen’s pawn to control the center, and blacks respond in the same manner to oppose this control.
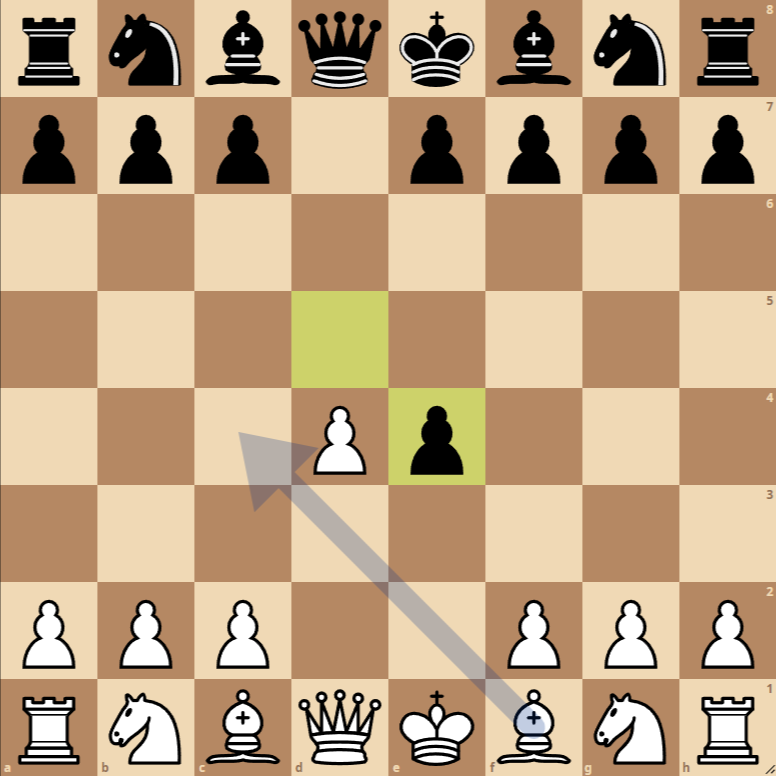
- 2. e4 dxe4: Whites offer the gambit, aiming to open up the position and activate their pieces quickly. Blacks accept the gambit by capturing the pawn on e4.
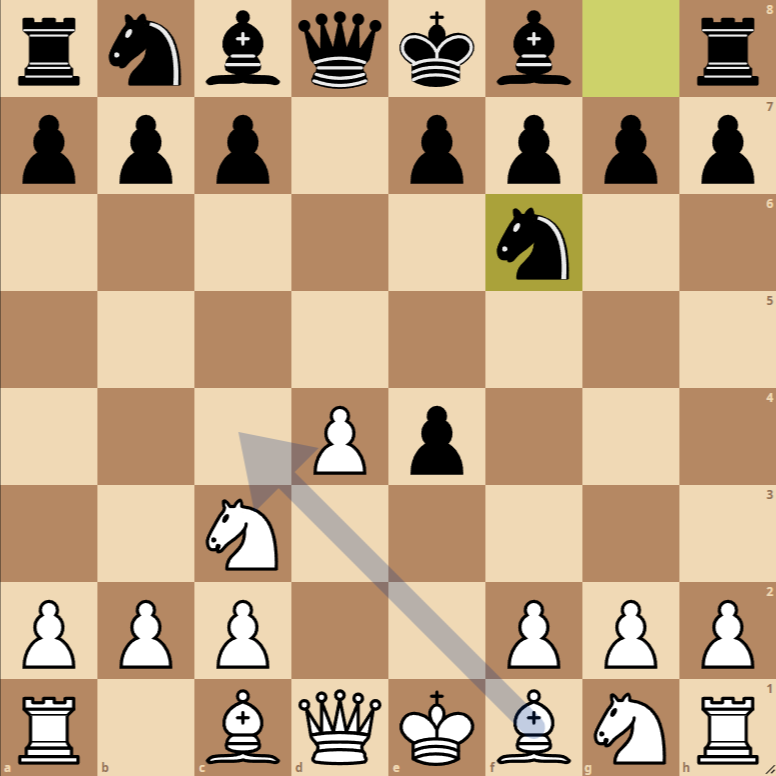
- 3. Nc3 Nf6: Whites develop their knight to c3, putting pressure on the pawn on e4. Blacks advance the king’s knight to f6 to increase their control in the center and prepare for castling.
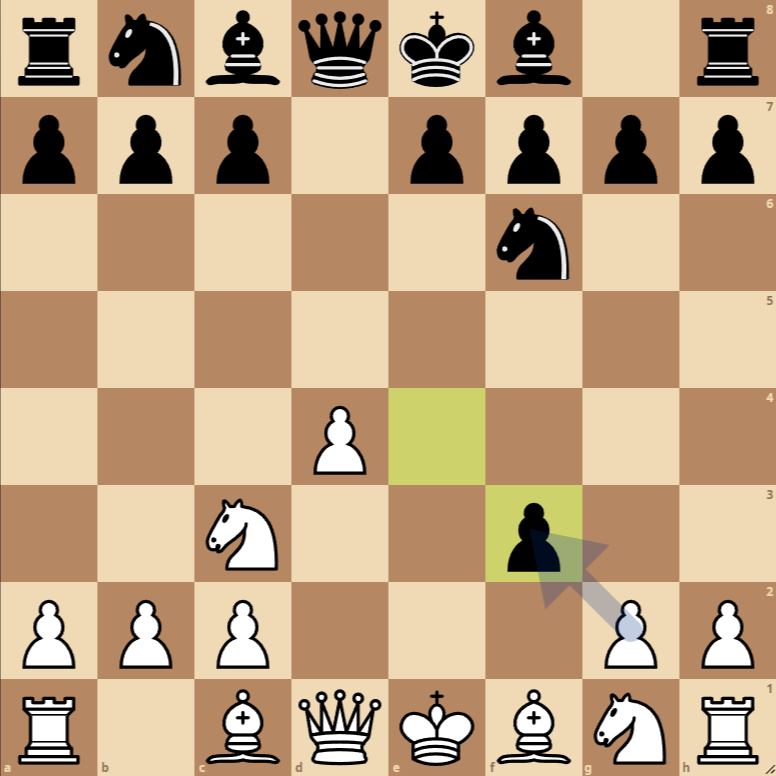
- 4. f3 exf3: Whites attempt to recapture the sacrificed pawn, setting the stage for a strong attack. Blacks capture the pawn on f3, accepting the structure with doubled pawns.
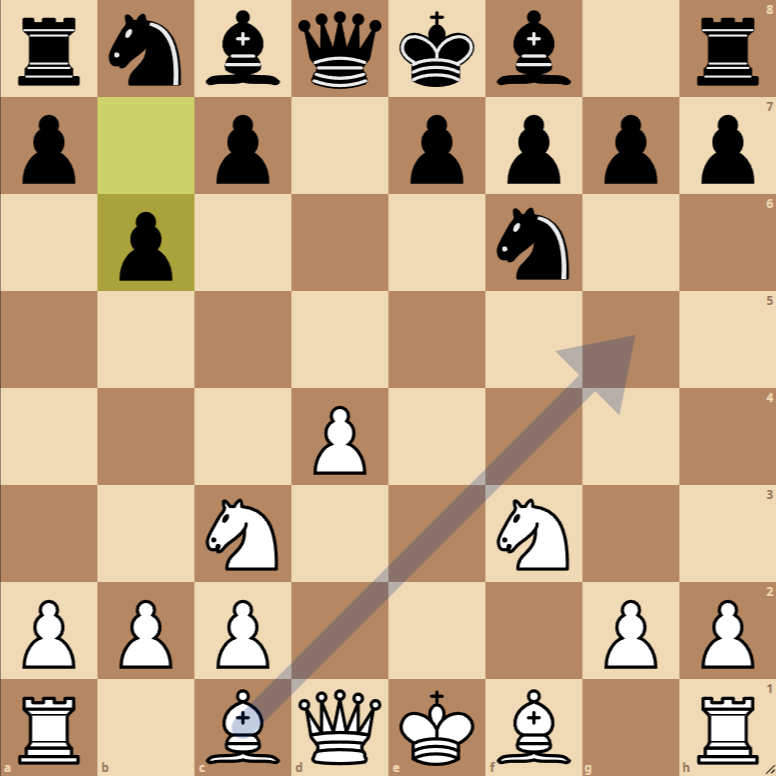
- 5. Nxf3 b6: Whites recapture the pawn with the knight, maintaining tension in the center. Blacks play b6 with the idea of fianchettoing the bishop and controlling central squares from the flank.
Variants of the Accepted Blackmar-Diemer Gambit – Ritter Defense
1. … e6
A popular variation for blacks after 1. d4 is to play …e6, aiming for a more solid approach and preparing for the release with …d5. This line doesn’t directly lead to the Ritter Defense but is a common alternative for blacks looking to avoid main lines of the Blackmar-Diemer Gambit.
2. … c6
After 2. e4, playing …c6 prepares for d5, seeking additional support before accepting the gambit. This response allows blacks to maintain a more solid pawn structure and prepare for a counterattack in the center.
The game has proceeded according to the accepted variation of the Blackmar-Diemer Gambit with the Ritter Defense.
This opening starts with the moves 1. d4 d5 2. e4 dxe4 3. Nc3 Nf6, followed by 4. f3 exf3 5. Nxf3 b6, presenting a position rich in tactical and strategic opportunities for both sides.
For Whites:
The Blackmar-Diemer Gambit is an aggressive opening that aims to sacrifice a pawn early in exchange for rapid piece mobilization and attacking chances against the black king. After 5…b6, whites have several attractive options to continue their development and attack.
- Ac4: Places the bishop in an active position, targeting the weak f7 square in the black camp. This move sets the stage for possible tactics involving sacrifices on f7 or exerting pressure on the black kingside once it castles.
- Ad3: Develops the bishop to a central square, where it supports pawn advances in the center and kingside. Additionally, this move contributes to preparations for short castling, keeping the white king safe while pressuring the center and the black kingside.
- Ag5: Aims to increase pressure on the knight on f6, a key defender of the black king. Moving the bishop to g5 can pave the way for tactical maneuvers, especially if blacks decide to castle kingside. Moreover, this move can force blacks to weaken their pawn structure around the king if they choose to kick the bishop with h6.
For Blacks:
Having accepted the gambit, blacks have gained an extra pawn but need to play carefully to counter whites’ initiative. The move 5…b6 prepares to develop the bishop via fianchetto, aiming to strengthen their control over the center and offer a solid defense.
- Developing the bishop to b7 allows blacks to exert pressure on the center and especially on the pawn on e4 if whites decide to advance it.
- Castling kingside as soon as possible is crucial for the safety of the black king, given whites’ aggressive stance. This also activates the rook on f8, which can be useful for defense or counterattack.

