How to Play the Blackmar-Diemer Gambit Accepted Euwe Defense Zilbermints Gambit
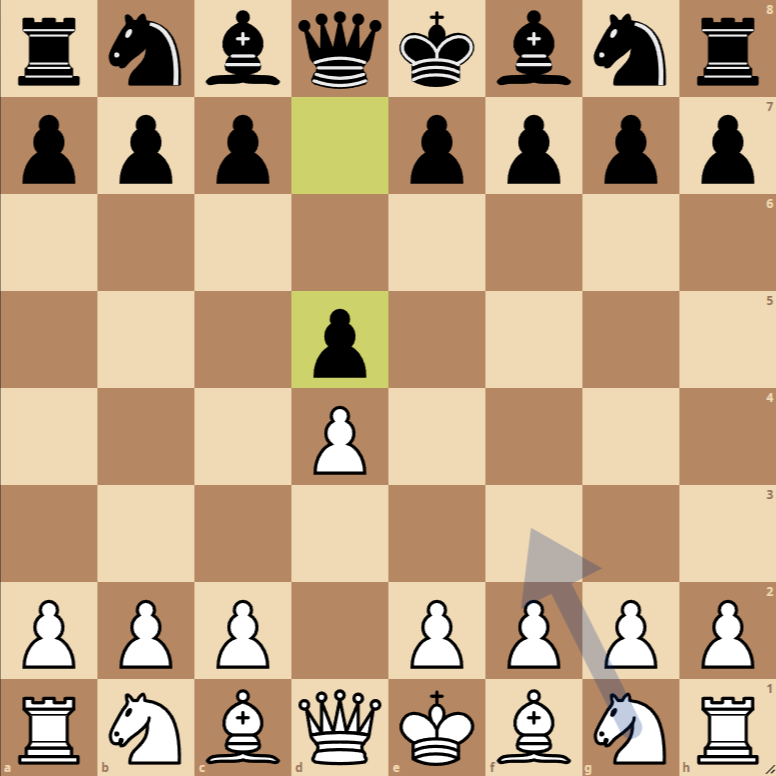
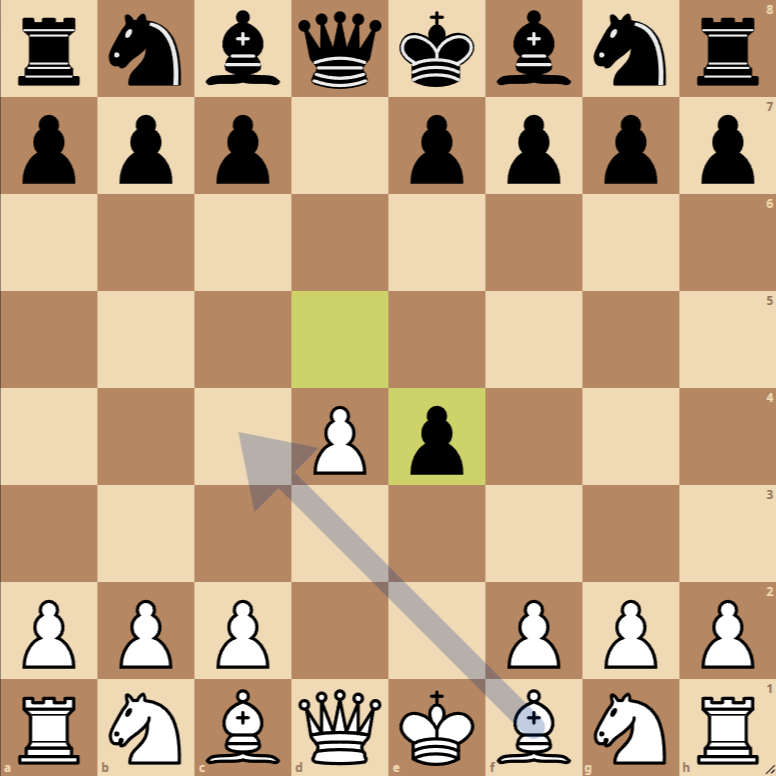
- 1. d4 d5: Both players advance their king’s pawns to control the center of the board.
- 2. e4 dxe4: White offers a pawn to divert the black pawn from d5, initiating the gambit. Black accepts the gambit by taking the pawn on e4.
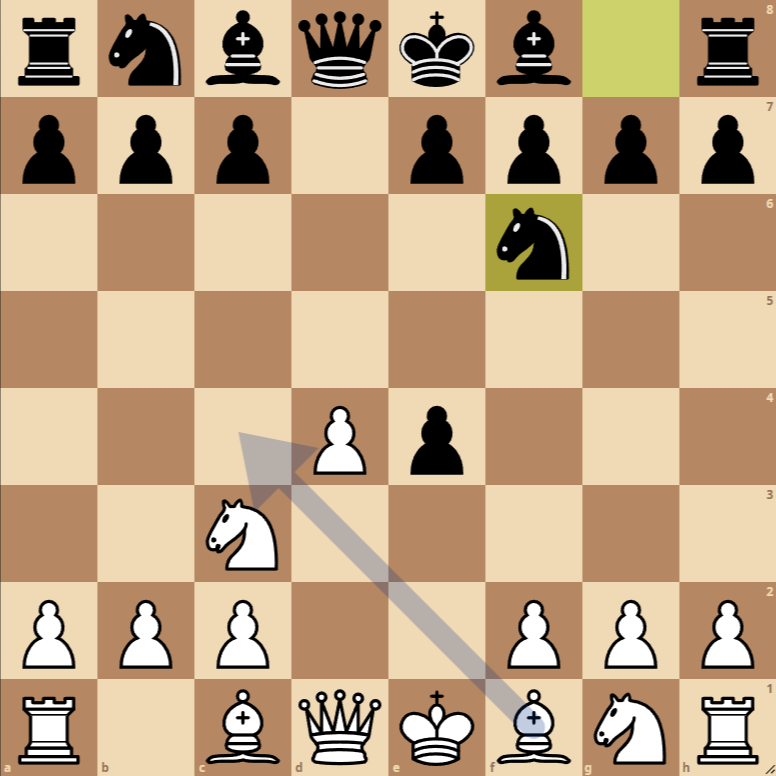
- 3. Nc3 Nf6: White develops a knight to the center, attacking the pawn on e4. Black develops a knight to defend the pawn on e4.
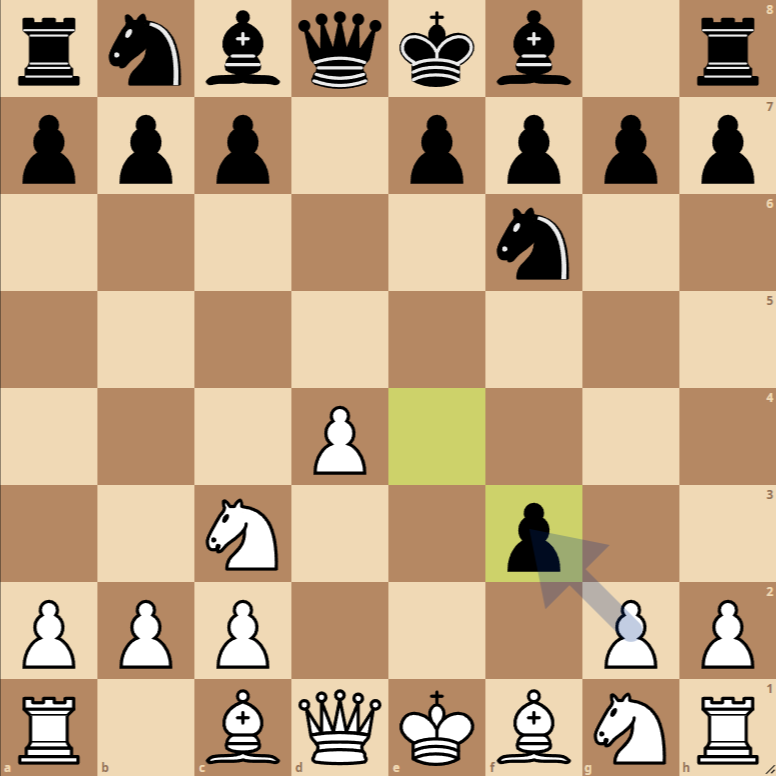
- 4. f3 exf3: White puts more pressure on the pawn on e4, preparing to recapture with the f-pawn. Black takes the pawn on f3.
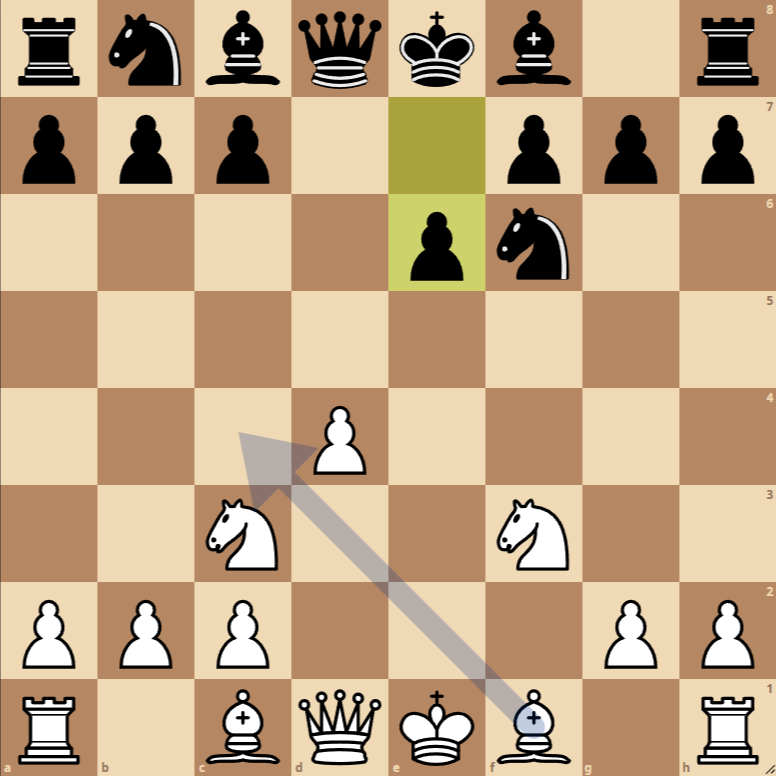
- 5. Nxf3 e6: White recaptures the pawn on f3 with the knight, reinforcing the central position. Black strengthens the center and prepares to develop the bishop.
- 6. Bg5 Be7: White develops the bishop to g5, putting pressure on the black knight on f6. Black responds by developing the bishop to e7 to defend.
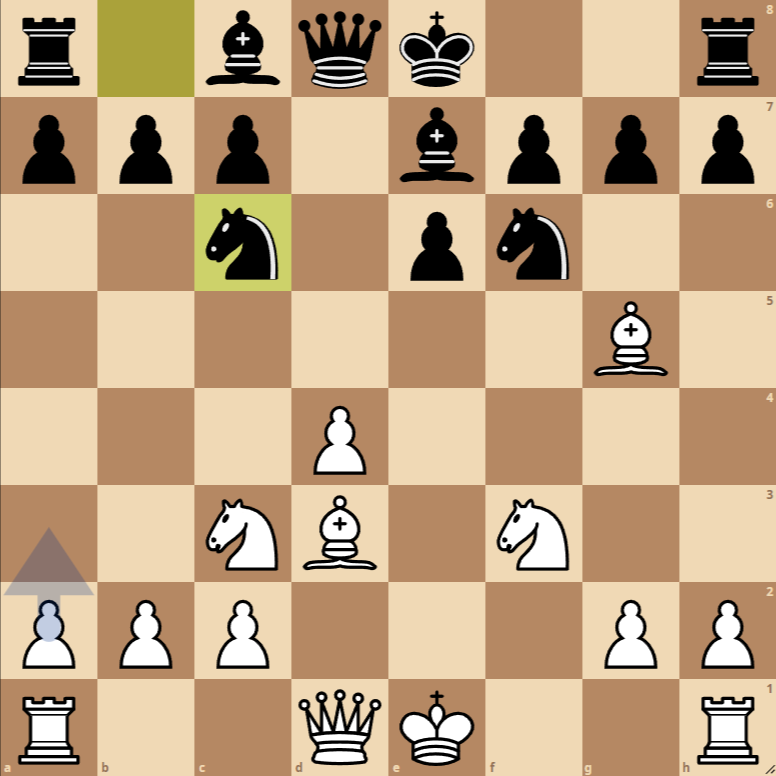
- 7. Bd3 Nc6: White places the other bishop on a central square, targeting the black kingside. Black develops the second knight, further controlling the center.
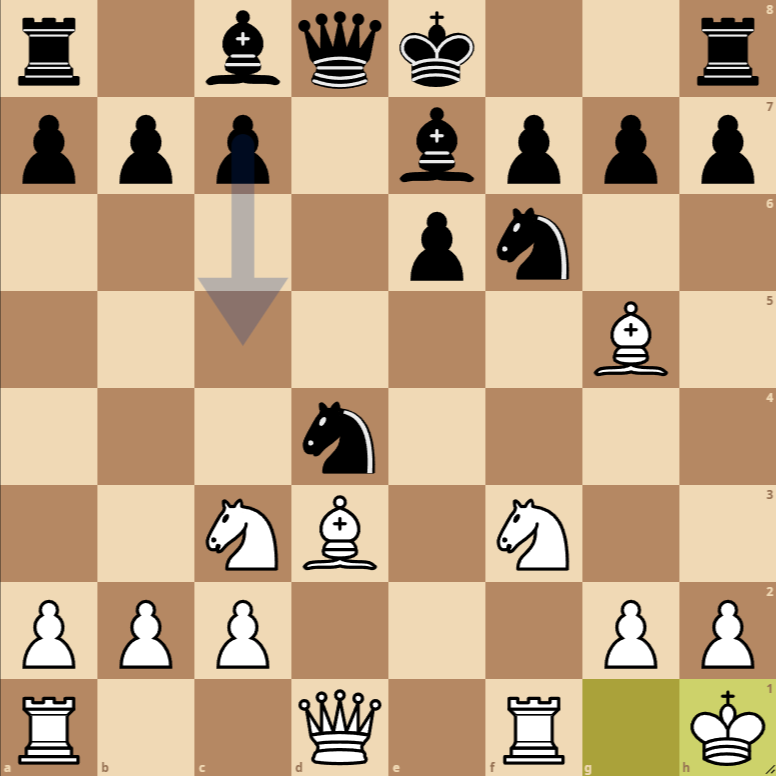
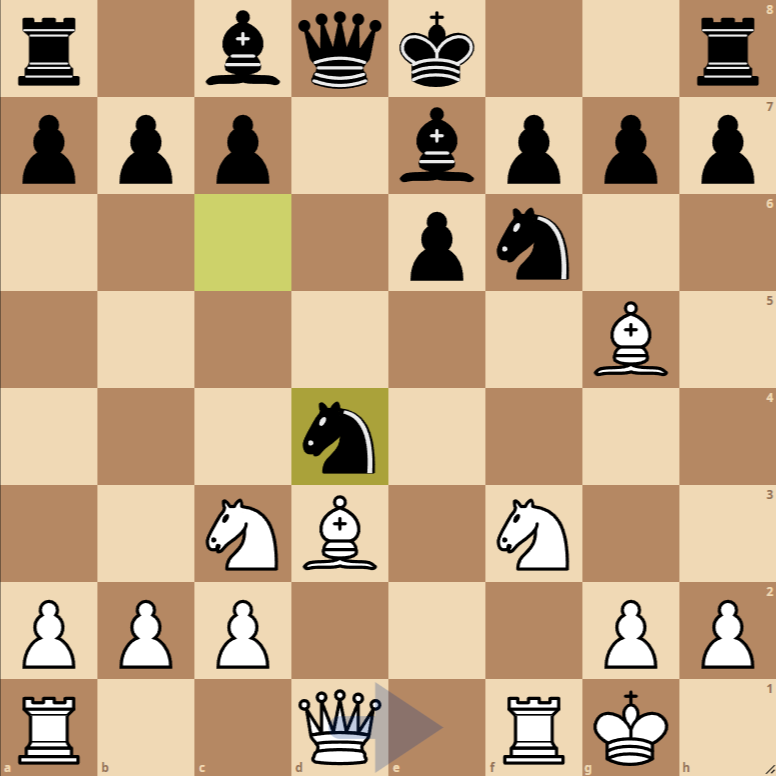
- 8. O-O Nxd4: White castles to safety and connects the rooks. Black captures the pawn on d4, taking advantage of a temporary distraction in white’s defense.
- 9. Kh1: White moves the king to h1, a prophylactic move that often prepares actions on the kingside or prevents certain tactics on the g1-a7 diagonal.
Variations of the Blackmar-Diemer Gambit Accepted Euwe Defense Zilbermints Gambit

Main Variations
The sequence presented corresponds to a mainline of the Blackmar-Diemer Gambit Accepted, specifically the Euwe Defense with the Zilbermints Gambit. This variation is characterized by aggressive play from White, seeking compensation for sacrificed material with rapid development and attack. Black, on the other hand, aims to neutralize White’s initiative and make use of their material advantage.
Other Variations
There are multiple variations within the Blackmar-Diemer Gambit, depending on Black’s responses and White’s strategic choices. The exact nature of these variations can vary significantly, but each one maintains the spirit of seeking active play and tactical opportunities in exchange for material sacrifices.
The game has progressed through an unorthodox line of the Blackmar-Diemer Gambit, specifically through the Euwe Defense with the Zilbermints variation.
At this point in the game, White has sacrificed a pawn early on with the aim of gaining a quick initiative and aggressive play in the center and the kingside. Black, on the other hand, has accepted the offered pawn but must be cautious not to fall into passive positions or allow White to develop a devastating attack.
Strategies and Tactics for White:
- Central consolidation and rapid development: White has sacrificed material for development and initiative. It is crucial to continue developing pieces with moves like Re3 or Qd2, aiming to control central squares and prepare for possible pawn advances on the kingside to open lines toward the black king.
- Active piece play: White’s pieces, especially the bishops and knights, are well-positioned to exert pressure. The bishop on g5 can be a nuisance for Black’s development, and the knight on f3 is ready to jump to more aggressive positions like g5 or e5 when the time is right.
- Exploit Black’s king in the center: If Black delays castling or fails to consolidate their position, White should look for ways to open lines and diagonals to attack the still-centralized Black king.
Strategies and Tactics for Black:
- Completing development and castling: It is paramount for Black to finish developing their minor pieces and castle as soon as possible to ensure the king’s safety. Moves like O-O, if possible, and developing the dark-squared bishop are key.
- Counterplay in the center: Black should be alert to opportunities for counterattacking in the center, especially if White overextends. Moves like c5, aiming to undermine White’s central structure and activate the dark-squared bishop, can be considered.
-


