How to Play the Blackmar-Diemer Gambit Accepted, Teichmann Defense, Seidel-Hall Attack Opening
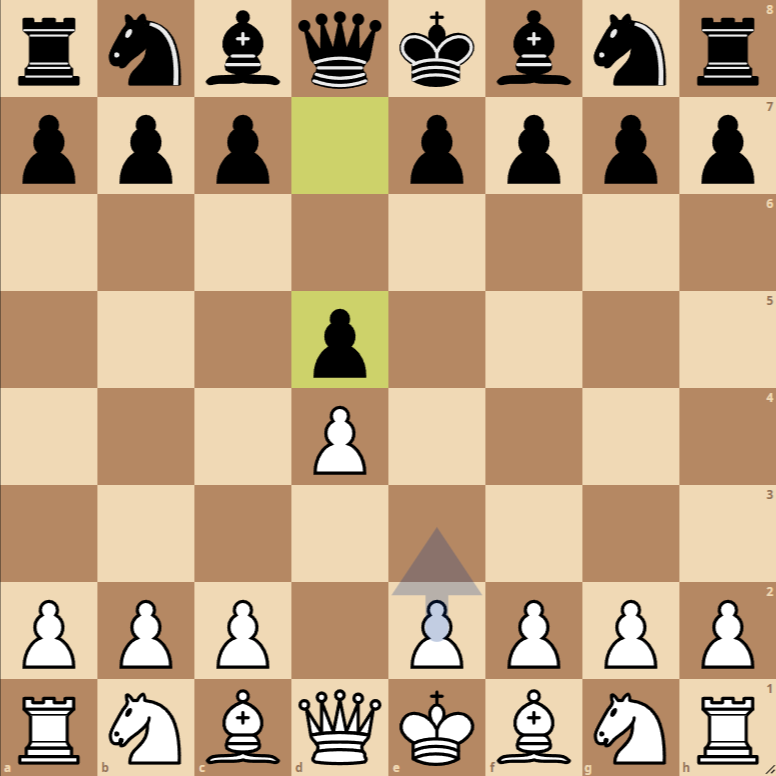
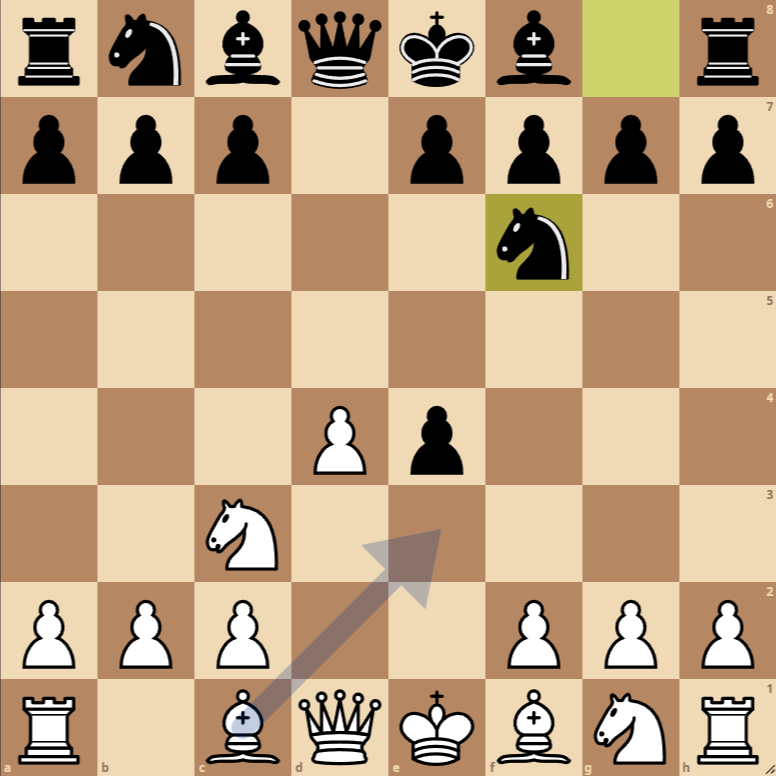
- 1. d4 d5: White starts with the queen’s pawn, and Black responds symmetrically, controlling the center.
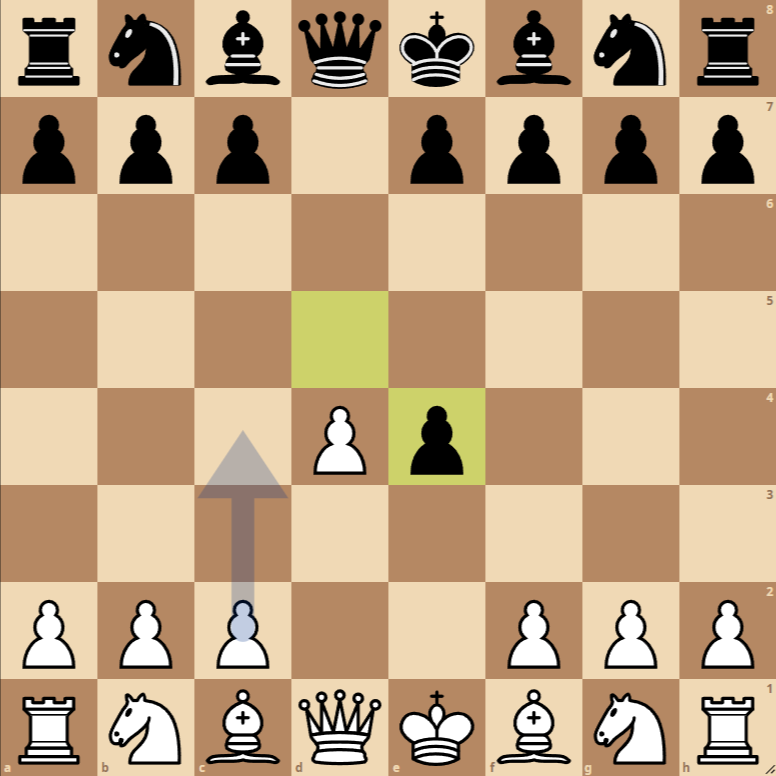
- 2. e4 dxe4: White offers the gambit, aiming to open lines for their pieces. Black accepts the gambit by capturing the pawn.
- 3. Nc3 Nf6: White develops a knight, attacking the pawn on e4. Black counters by developing their knight, defending the pawn and controlling the center.
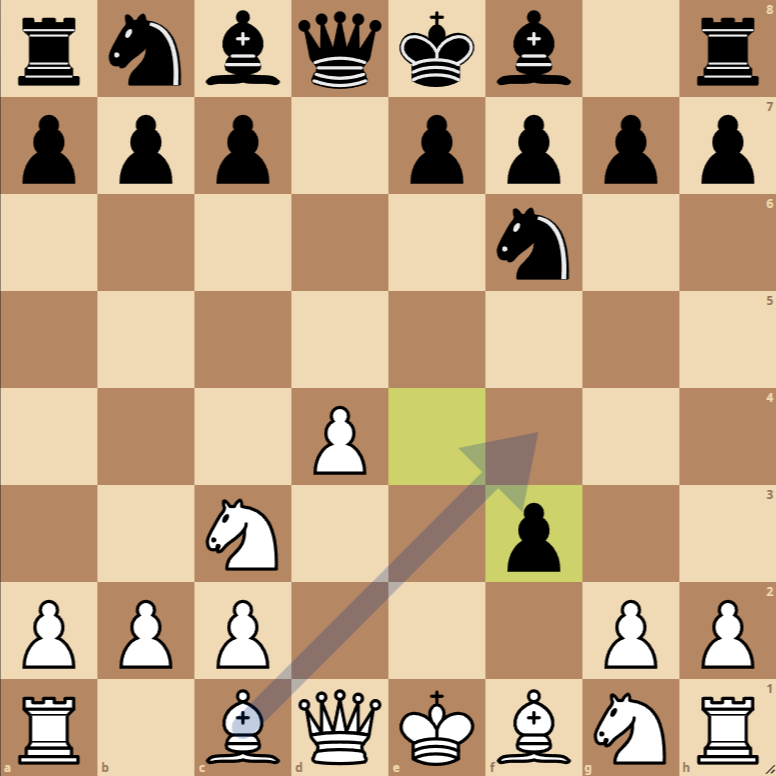
- 4. f3 exf3: White presses to regain the pawn, preparing the way for the bishop and queen. Black accepts the pawn exchange.
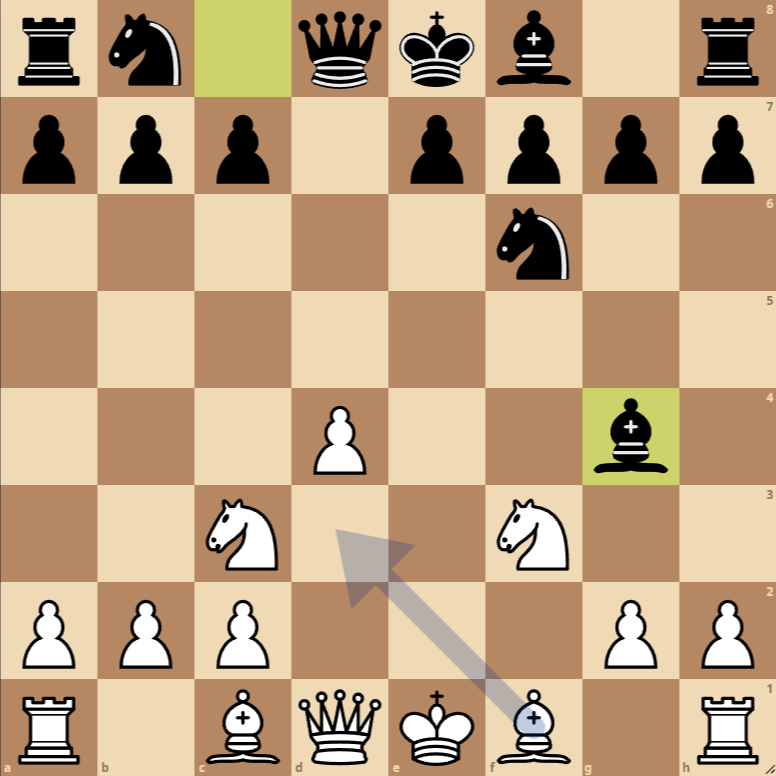
- 5. Nxf3 Bg4: White recovers the pawn, while Black develops the bishop, putting pressure on the knight on f3.
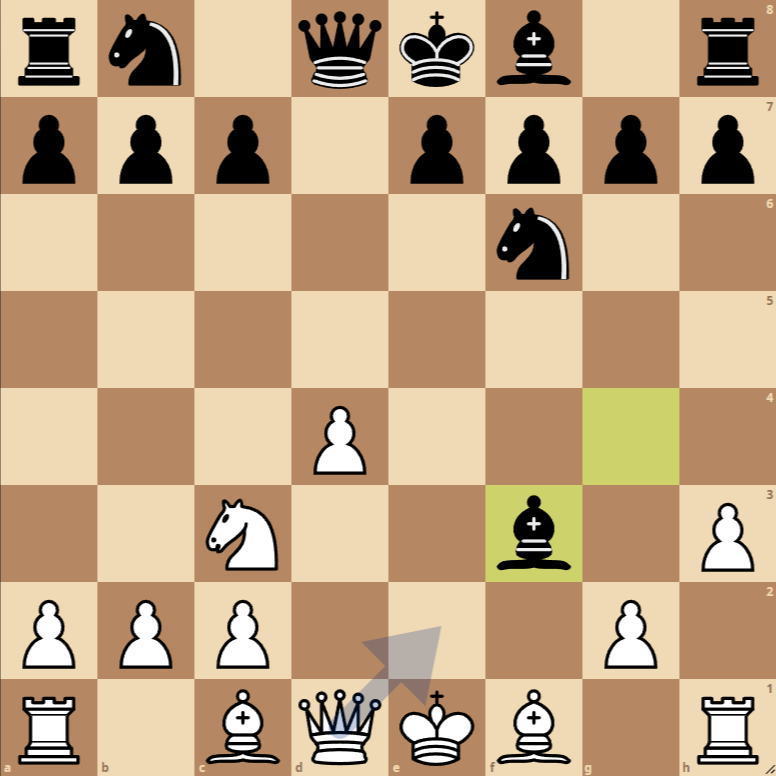
- 6. h3 Bxf3: White aims to weaken the defense of the Black bishop, forcing an exchange. Black decides to capture the knight, altering White’s pawn structure.
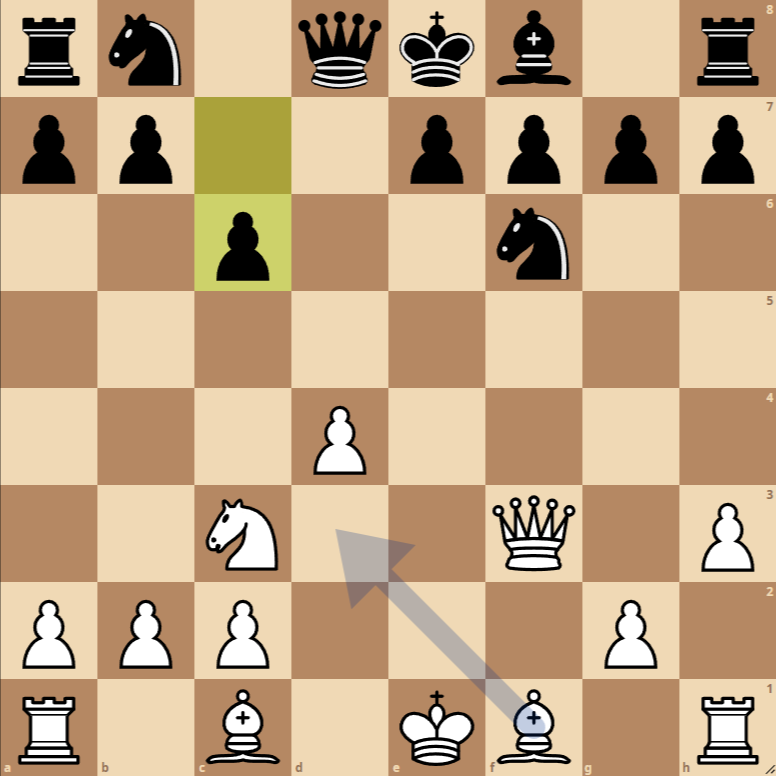
- 7. Qxf3 c6: White recaptures with the queen, maintaining pressure in the center and preparing for long castling. Black plays c6, strengthening the center and preparing bishop development.
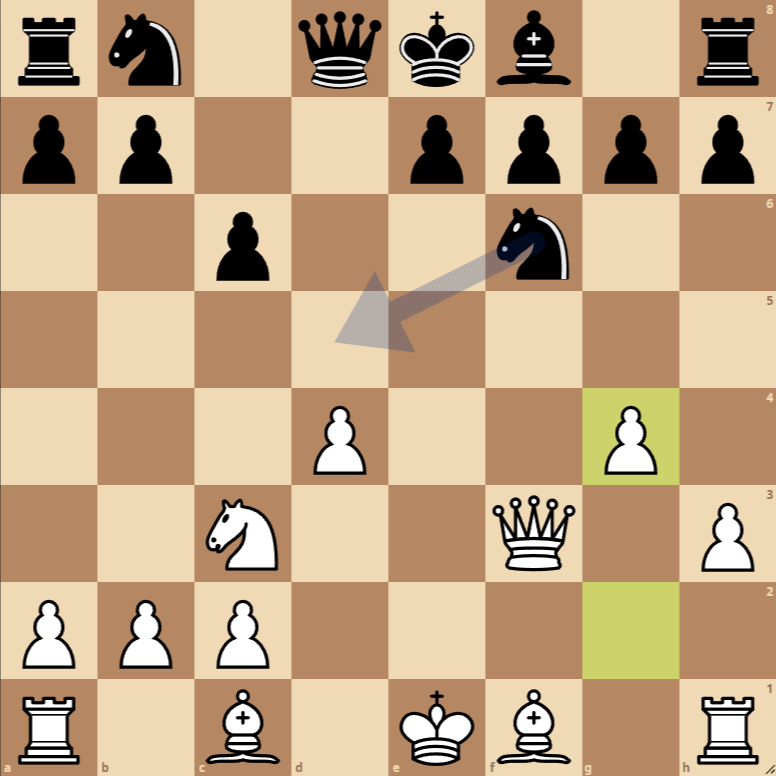
- 8. g4: White advances the g-pawn, seeking space and potentially preparing a king’s side attack.
Variations of the Blackmar-Diemer Gambit Accepted, Teichmann Defense, Seidel-Hall Attack Opening
Variation 1: Gambit Declined
Instead of accepting the gambit with 2…dxe4, Black can choose to solidify their central position with moves like 2…e6, maintaining a strong pawn structure and preparing piece development without accepting the offered material.
Variation 2: Early Bishop Development
After 3…Nf6, an alternative for Black could be 3…e5, directly challenging the center and aiming to activate the bishop on c5, creating immediate counterplay in the center.
Variation 3: Rapid Pawn Advancement
Instead of playing 4…exf3, Black may consider the advance 4…e3, seeking to complicate the game and delay White’s recapture of the pawn, introducing a tactical element into the position.
The Resulting Position from the Sequence of Moves in the Blackmar-Diemer Gambit Accepted, Teichmann Defense, Followed by the Seidel-Hall Attack
This presents a dynamic and tactically rich scenario for both sides. After 1. d4 d5 2. e4 dxe4 3. Nc3 Nf6 4. f3 exf3 5. Nxf3 Bg4 6. h3 Bxf3 7. Qxf3 c6 8. g4, the game enters into a complex and sharp territory where White has sacrificed a pawn for aggressive play and initiative, while Black aims to consolidate their extra material and counter the pressure.
Strategies and Tactics for White:
- Control of the center and accelerated development: White seeks to compensate for the sacrificed pawn with quick piece development and central control. The idea is to generate direct threats against the Black king’s castling and utilize the greater activity of their pieces.
- Pressure on the Black king’s side: With the g4 advance, White prepares an expansion on the king’s side, potentially opening lines against the Black king if it chooses to castle short. This move also sets up g5 to displace the Black knight on f6, a key defensive piece for Black.
- Tactical opportunities: White’s position invites tactical maneuvers, including sacrifices of material or minor pieces to open up the Black king’s position or disrupt the coordination of Black’s pieces.
Strategies and Tactics for Black:
- Defense and counterplay: Faced with the initial pressure, Black should seek solid defense while keeping the possibility of counterattacks in mind by leveraging the lines and diagonals that may open due to White’s pawn advances.
- Play in the center and queen’s side:


