How to Play the Blackmar-Diemer Gambit von Popiel Gambit Zilbermints Variation
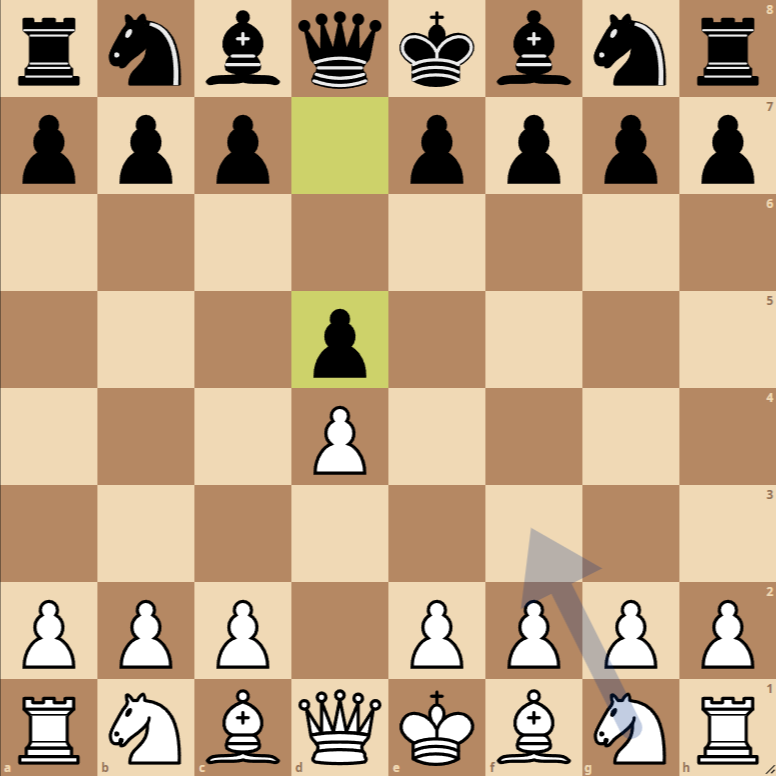
- 1. d4 d5: The game begins with the queen’s pawn, aiming to control the center and prepare for the development of minor pieces.
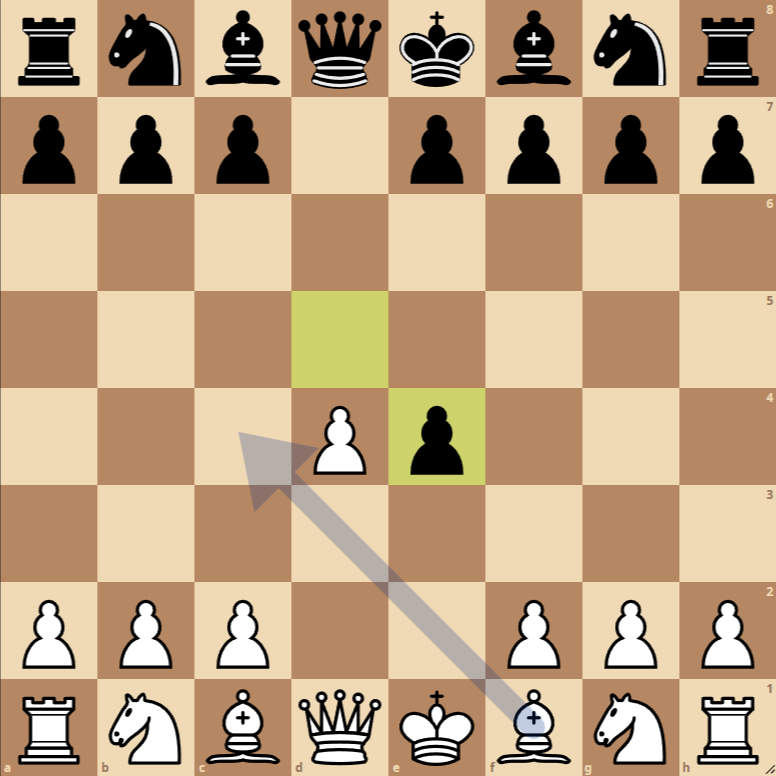
- 2. e4 dxe4: White offers a pawn to unbalance the center and open lines. Black accepts the gambit.
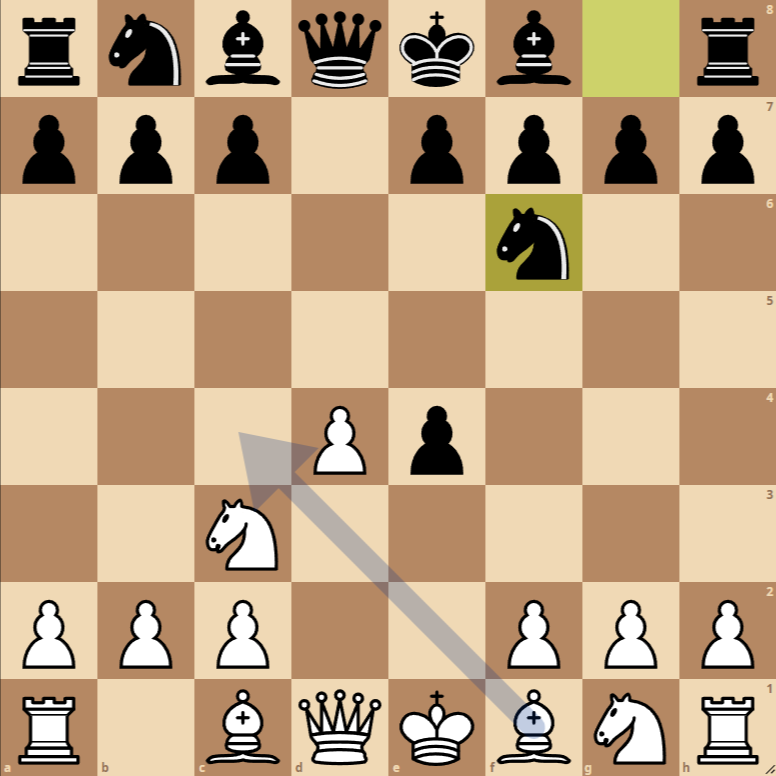
- 3. Nc3 Nf6: White develops a knight to the center, while Black does the same, putting pressure on the e4 pawn.
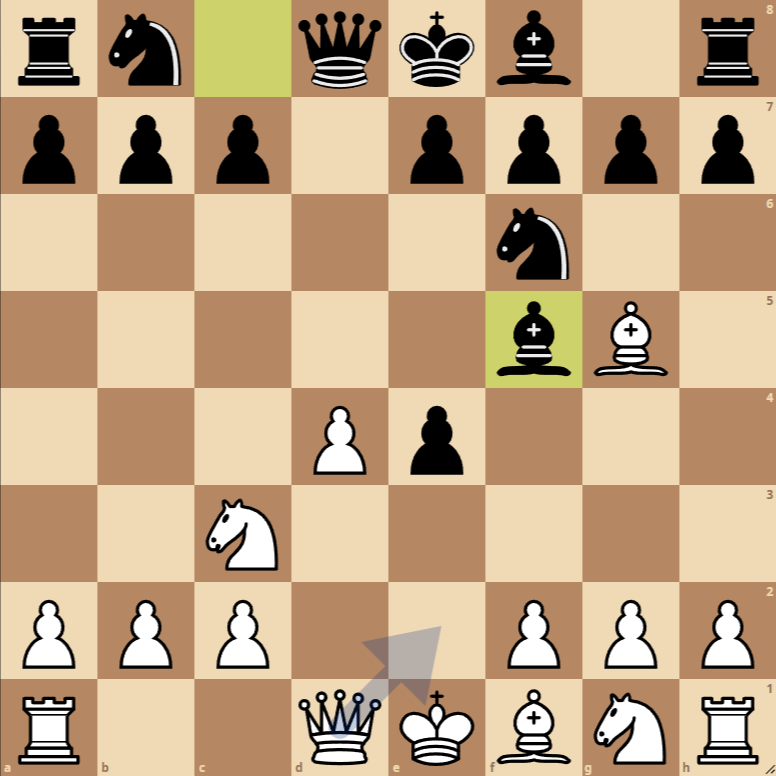
- 4. Bg5 Bf5: White develops the bishop, targeting the Black knight on f6, while Black develops their bishop, attacking the c2 pawn.
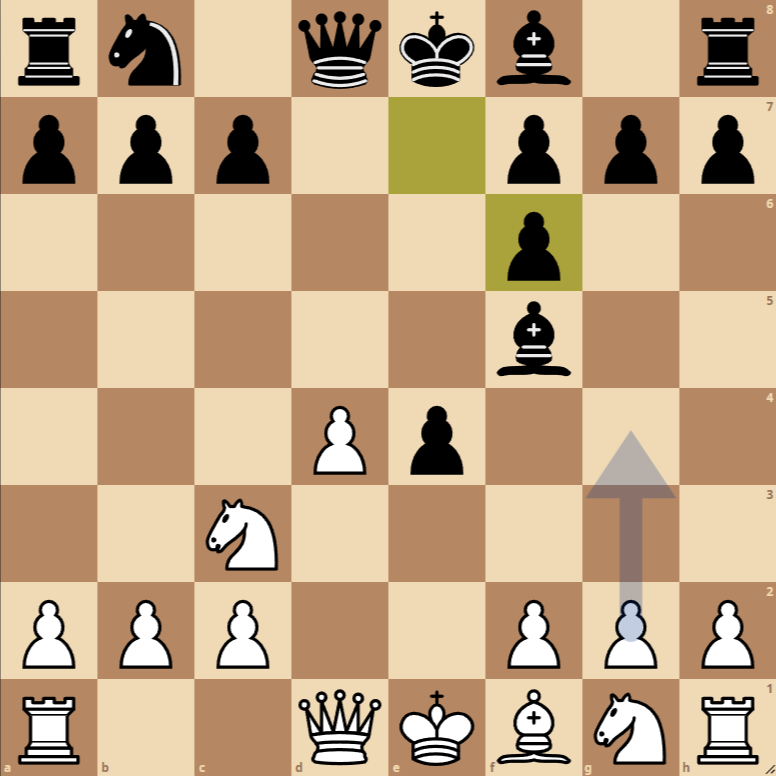
- 5. Bxf6 exf6: White decides to capture the knight on f6, doubling Black’s pawns on the “f” file. Black recaptures with the pawn, maintaining the central structure.
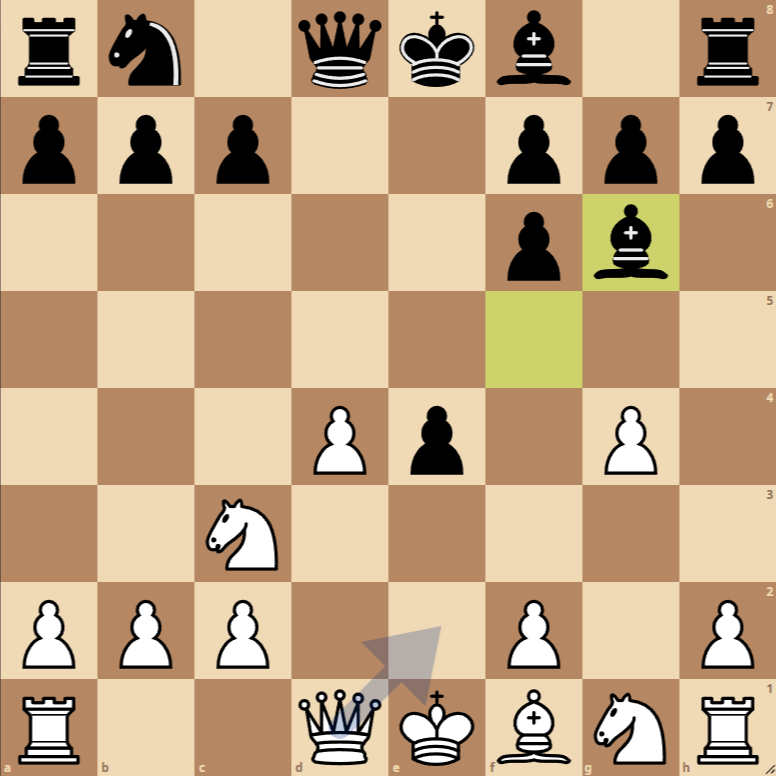
- 6. g4 Bg6: White advances the g-pawn to displace the Black bishop on f5. Black retreats the bishop to g6 to maintain pressure on the center.
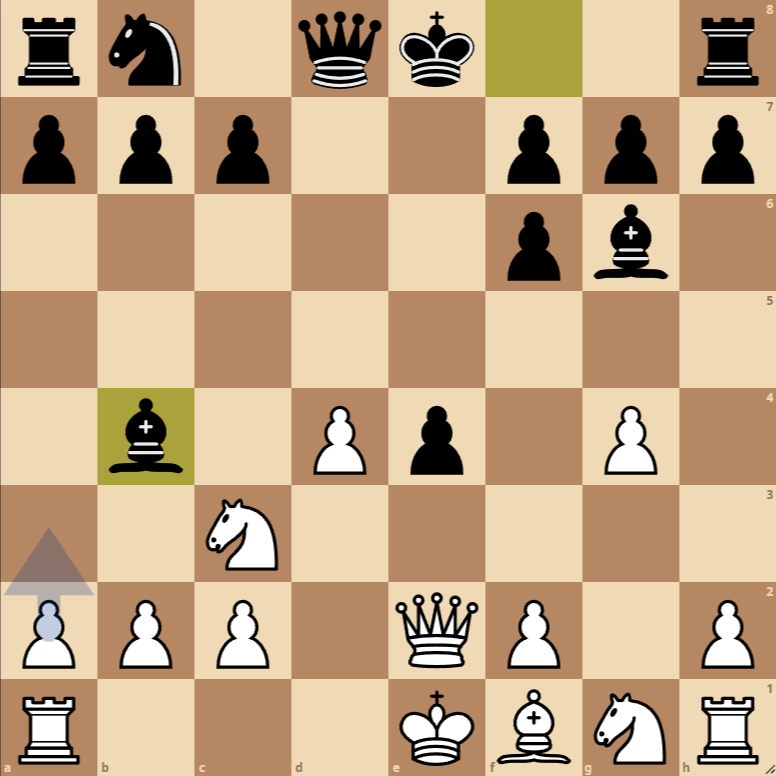
- 7. Qe2 Bb4: White prepares to recapture the pawn on e4 with the queen, offering more protection to the g4 pawn. Black develops another bishop, putting pressure on the knight on c3 and preparing to castle.
- 8. Qb5+: White delivers a check with the queen, attacking the Black king and the bishop on b4. This forces Black to defend, typically by blocking with the knight or the b7 pawn.
Variations of the Blackmar-Diemer Gambit von Popiel Gambit Zilbermints Variation
1. … c6
A popular variation for Black after 1. d4 is to play c6, aiming to support the center and prepare the advance d5 in a Caro-Kann Defense context.
2. … e6
After 1. d4, Black can opt for e6, with the idea of developing their pieces in a French Defense setup, protecting the d5 pawn and preparing the advancement of their dark-squared bishop.
The Zilbermints Variation of the Blackmar-Diemer Gambit
The Zilbermints Variation of the Blackmar-Diemer Gambit, reached after the moves 1. d4 d5 2. e4 dxe4 3. Nc3 Nf6 4. Bg5 Bf5 5. Axf6 exf6 6. g4 Bg6 7. Qe2 Ab4 8. Db5+, is a sharp and unconventional line that leads the game into tactically rich territory. This gambit is characterized by White sacrificing a pawn (and sometimes more) in exchange for rapid piece mobilization and the creation of threats against the Black king. Let’s analyze strategies and tactics for both sides in this position.
Strategies and Tactics for White:
- Center Control and Rapid Development: White aims for a quick development of their pieces and the opening of lines for their rooks and queen, with the goal of launching a fast attack against the Black king. The move 8. Qb5+ is a check that also threatens the bishop on b4.
- Pressure on the King’s Flank: With the advance of the g4 pawn and the capture on f6, White has weakened the defense of the Black king and can seek opportunities to further open the king’s flank, potentially preparing a direct attack on the king.
- Utilizing Open Columns: The e-file is partially open, and White may seek to exploit it by placing rooks or the queen in offensive positions.
Strategies and Tactics for Black:
- Counterplay in the Center and Queen’s Flank: Despite accepting the gambit, Black has options for counterplay by focusing on the center and the queen’s flank. Moves like Nc6, Nd7, or Qd7 aim to develop pieces to effective squares where they can defend and counterattack.
- King’s Defense and Regrouping: The safety of the Black king is paramount. Black should be vigilant against immediate threats and prepare castling or rearrange pieces to adequately defend the king.
- Exploiting White’s Weakened Pawn Structure: White has compromised their pawn structure, especially around their king, with early advances like g4. Black can look for opportunities to target these weak points.
Suggested Moves:
- Nc6: Develops a piece and attacks the center, offering Black the opportunity to connect their rooks and prepare for possible open lines.
- Nd7: Relocates the knight to a position where it can support pawn advances or reinforce control of the center.
- Qd7: This move prepares long castling and positions the queen in a more active role, where it can contribute to both defense and counterattacks.
