Blackmar-Diemer Gambit Accepted Bogoljubow Defense Nimzowitsch Attack

How to Play the Blackmar-Diemer Gambit Accepted Bogoljubow Defense Nimzowitsch Attack
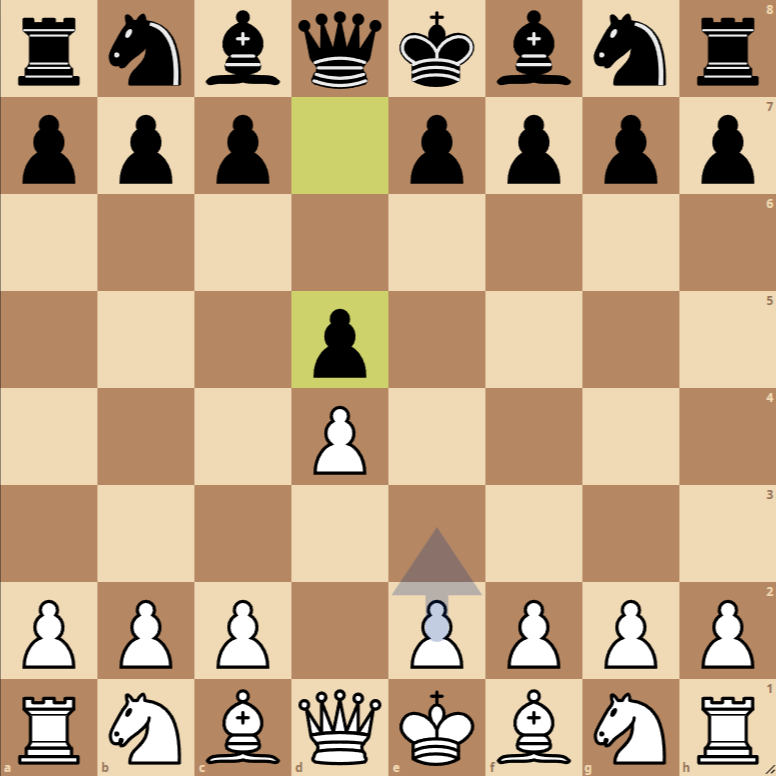
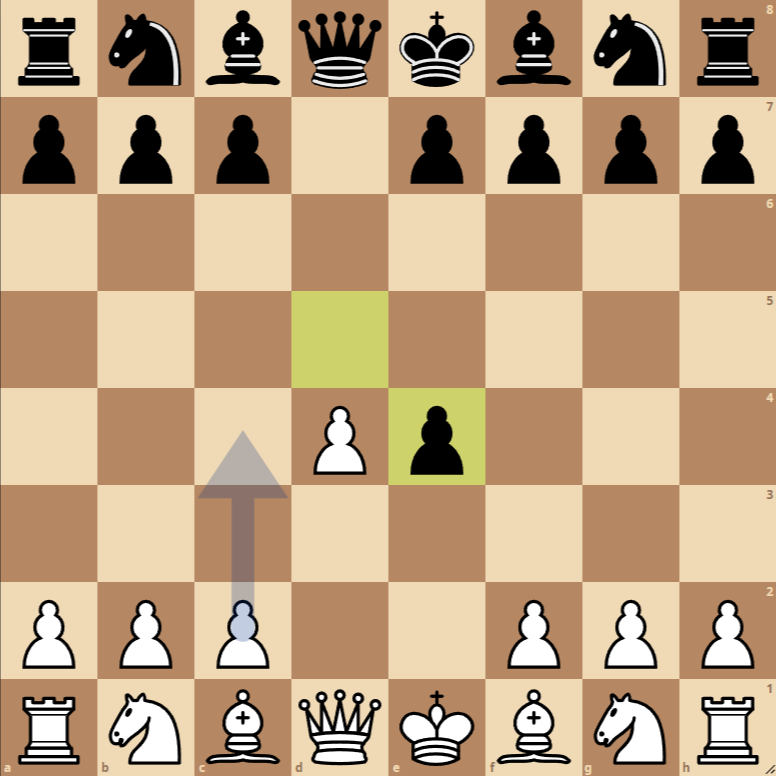
  • 1. d4 d5: Both White and Black occupy the center with their pawns.
  • 2. e4 dxe4: White offers a pawn to divert the Black pawn and open lines for their pieces. Black accepts the gambit.
  • 3. Nc3 Nf6: Development of knights on both sides, targeting the center.
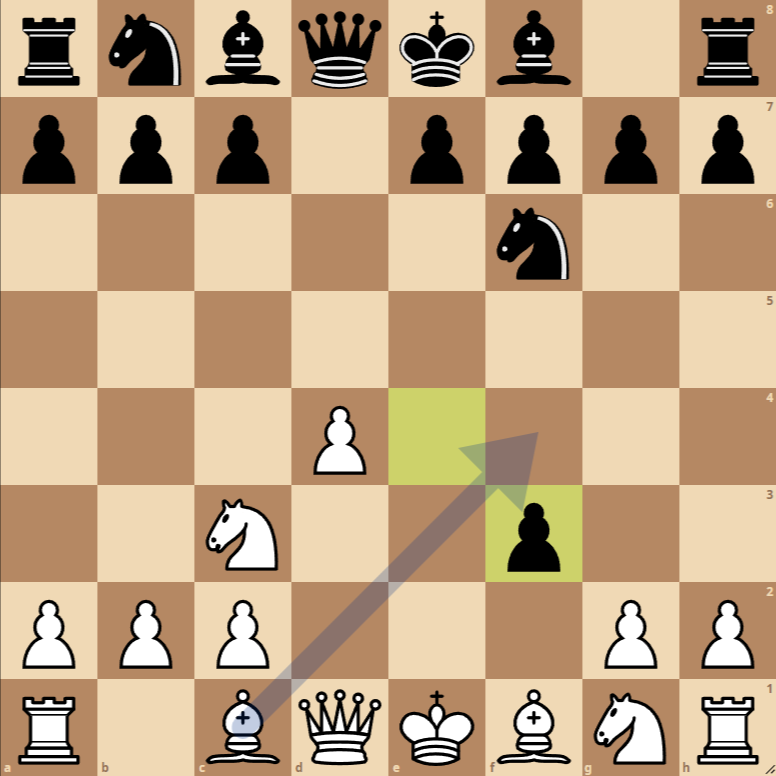
  • 4. f3 exf3: White aims to recapture the sacrificed pawn and open the diagonal for the bishop. Black captures the f3 pawn.
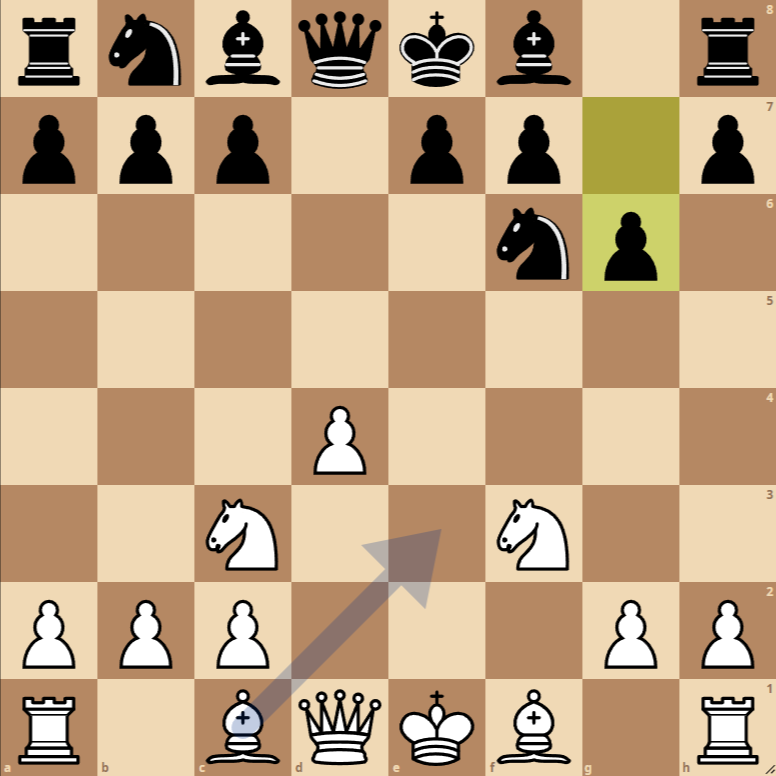
  • 5. Nxf3 g6: White recovers the pawn with the knight, while Black prepares the fianchetto of their king’s bishop.
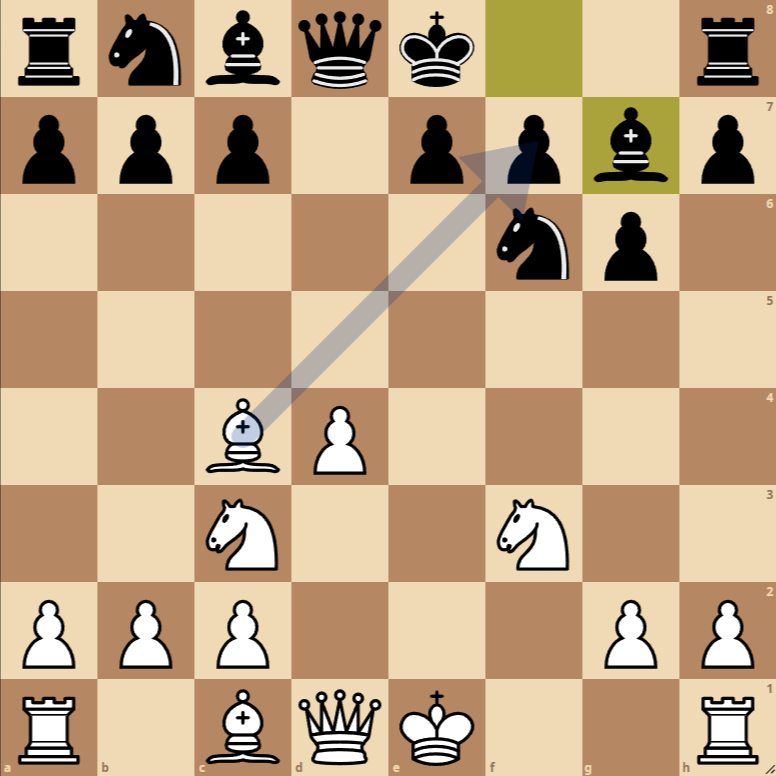
  • 6. Bc4 Bg7: White develops their bishop to an aggressive square, targeting the Black king’s side. Black completes the fianchetto.
  • 7. Ne5: White centralizes their play on the advanced knight, which is well-supported and exerts pressure in the center and king’s flank.

Variations of the Blackmar-Diemer Gambit Accepted Bogoljubow Defense Nimzowitsch Attack
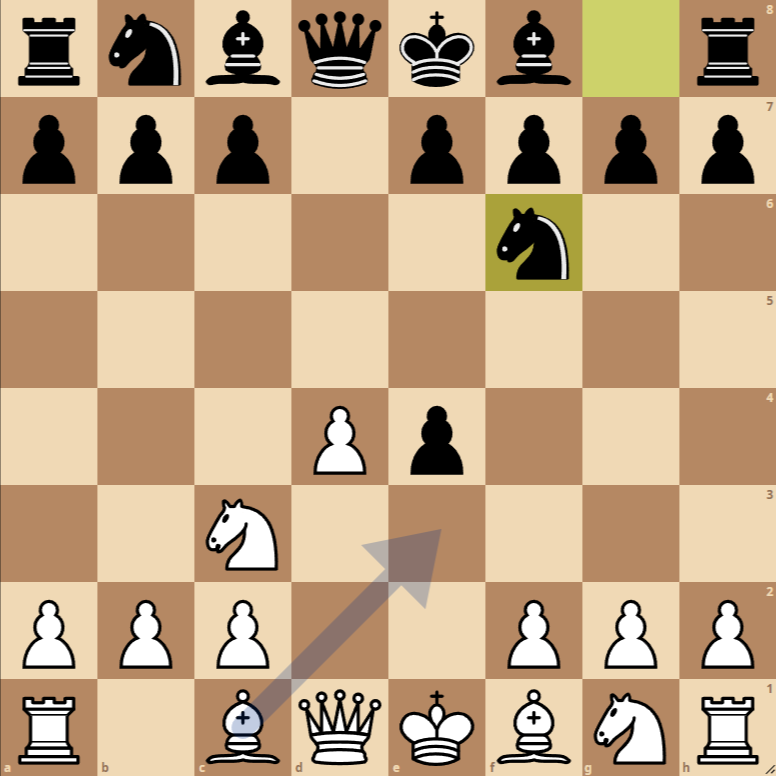
Variation 1: 2…e6

Instead of accepting the gambit with 2…dxe4, Black can play 2…e6, aiming to strengthen their center without opening lines for White.

Variation 2: 3…e5

After 3. Nc3, Black can try to counterattack in the center immediately with 3…e5, challenging White’s central structure.

Variation 3: 4…Be6

Following 4. f3, instead of capturing on f3 with 4…exf3, Black can develop their bishop to e6, protecting the e4 pawn and seeking a more positional game.

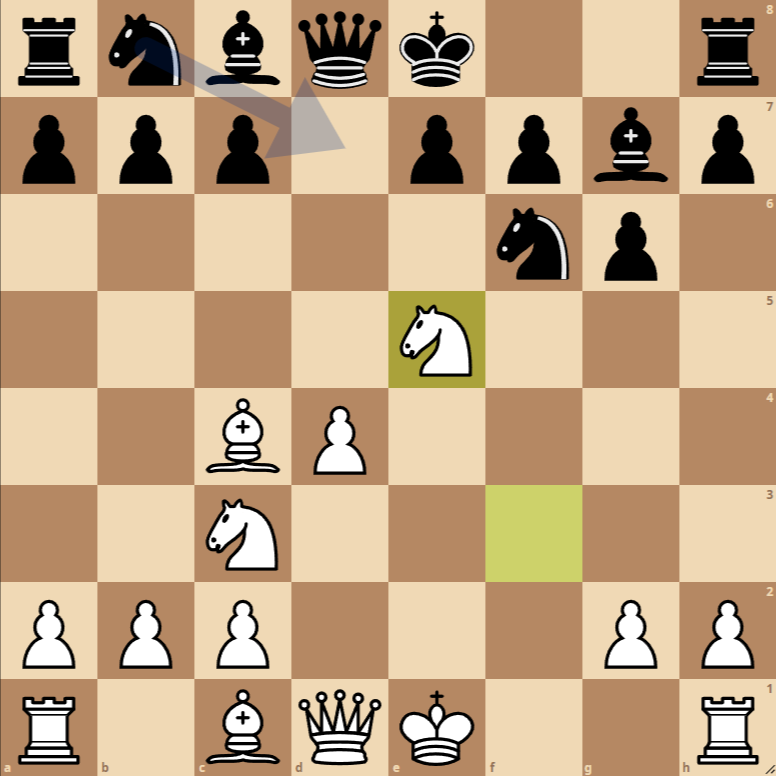
The Game Has Progressed through the Initial Moves of the Blackmar-Diemer Gambit

with the Bogoljubow Defense and Nimzowitsch Attack in play, a dynamic and aggressive variation focused on rapid development and central control by White, at the cost of a pawn. At this point, the position is intensely tactical and offers interesting opportunities for both sides.

For White:

Central Control and Rapid Development: White has sacrificed a pawn to accelerate their development and control the center. The placement of the bishop on c4 and the knight on e5 shows direct pressure on f7, a weak point in the Black camp. This is a typical position in the Blackmar-Diemer Gambit, where White seeks to capitalize on their development advantage to launch an attack against the Black king.

Preparation for Castling: With the possibility of short castling, White can quickly secure their king and connect their rooks, preparing for operations in the center or on the king’s flank.

Next Best Moves: Consider O-O for castling, followed by increasing pressure in the center and the king’s flank, possibly with moves like Qf3 or Re1, looking for opportunities to exploit the advanced placement of their pieces and create direct threats against the Black king.

For Black:

Consolidation and Counterplay: Black has accepted the pawn sacrifice in search of counterplay. It is crucial for Black to consolidate their position and seek to activate their pieces quickly. The safety of the Black king is paramount, given the aggressive nature of the position.

Defense of the f7 Point: Since f7 becomes a clear target for White, Black must be attentive to the defense of this point. Moves like …e6 can help strengthen the pawn structure and reduce the effectiveness of the White bishop on c4.

Next Best Moves: Black may consider moves like …O-O, …e6, or …Be6, each with its merits. Castling provides king safety, while …e6 and …Be6 work to strengthen the center and pave the way for possible counterattacks. The choice between these moves will depend on the preference for king safety or piece activity.

Strategic and Tactical Considerations:

White should capitalize on their development advantage to generate pressure and possibly tactical threats against the Black king. Piece coordination is key to exploiting the position aggressively.

Black should aim to neutralize White’s initiative by maintaining a solid defense and looking for opportunities to counterattack, especially in the center and the queen’s flank, where the pawn structure can offer levers for activity.

This balance between attack and defense, along with the choice of strategic moves, defines the nature of the Blackmar-Diemer Gambit. Deep understanding of positions and potential plans will be crucial for both sides in the development of the game.