How to Play the Blackmar-Diemer Gambit Accepted Gunderam Defense Stader Variation
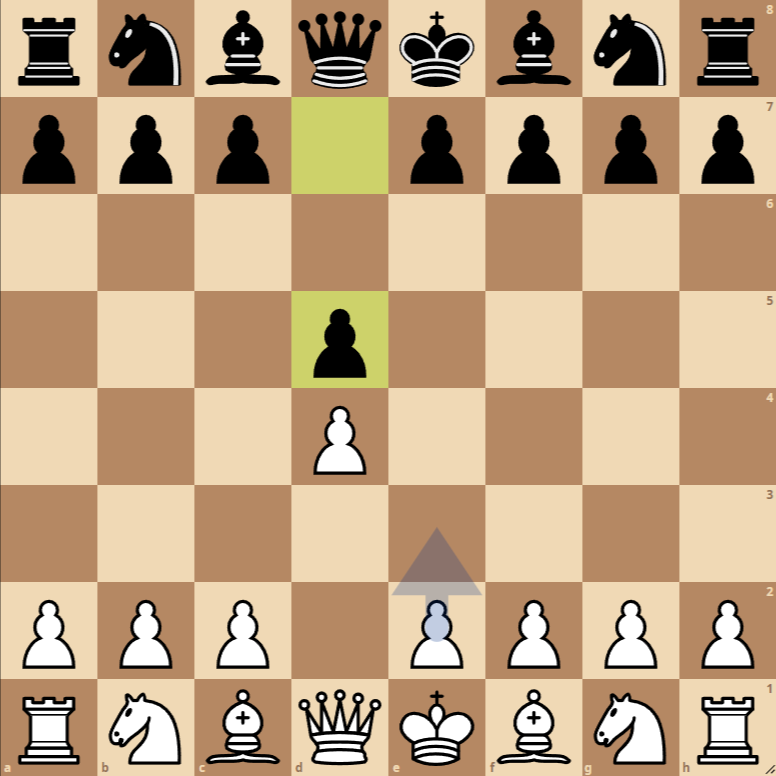
- 1. d4 d5: Both White and Black occupy the center of the board, preparing for a dynamic confrontation.
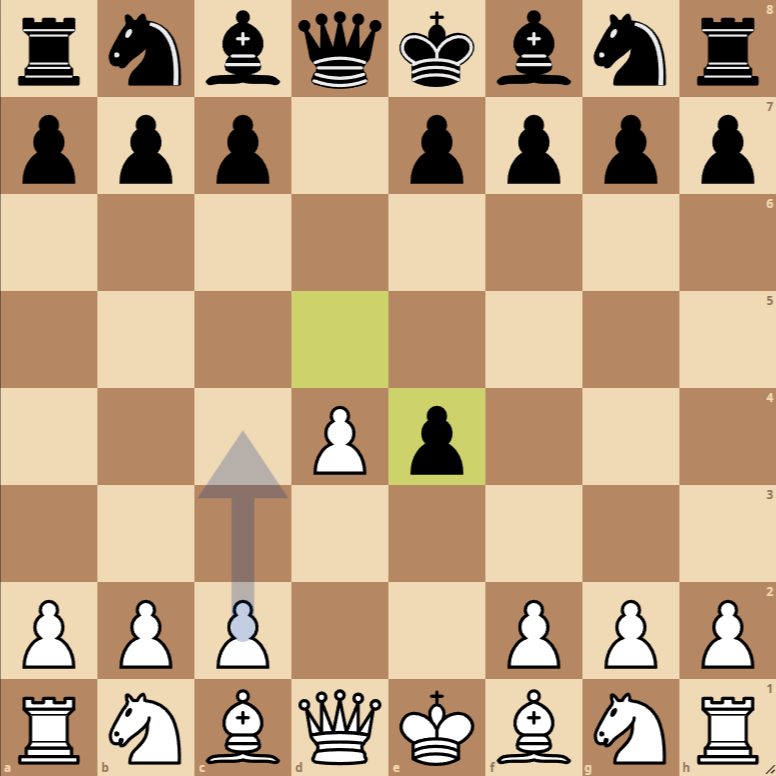
- 2. e4 dxe4: White offers a pawn (gambit) to divert the Black pawn and open lines for their pieces. Black accepts the gambit.
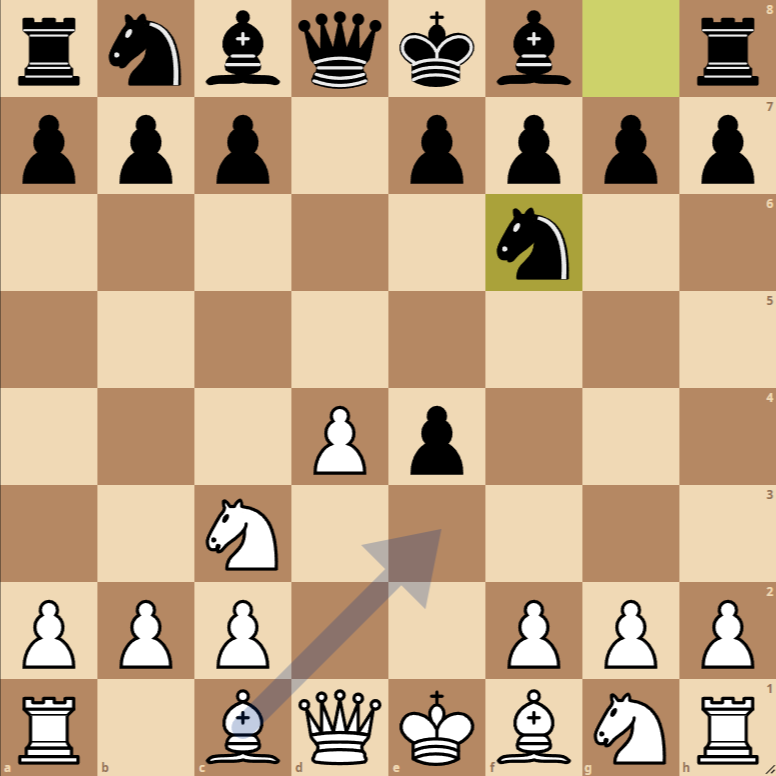
- 3. Nc3 Nf6: Development of knights towards the center, with White seeking to regain the pawn while Black focuses on central control and defense.
- 4. f3 exf3: White continues with their gambit plan, preparing to recapture the pawn with the knight on f3. Black accepts the pawn exchange.
- 5. Nxf3 Bf5: White recovers the pawn with the knight, improving their development. Black develops their bishop, aiming at the center and the c2 square.
- 6. Ne5 e6: The White knight aggressively occupies e5, threatening key squares. Black responds by reinforcing their center and preparing bishop development.
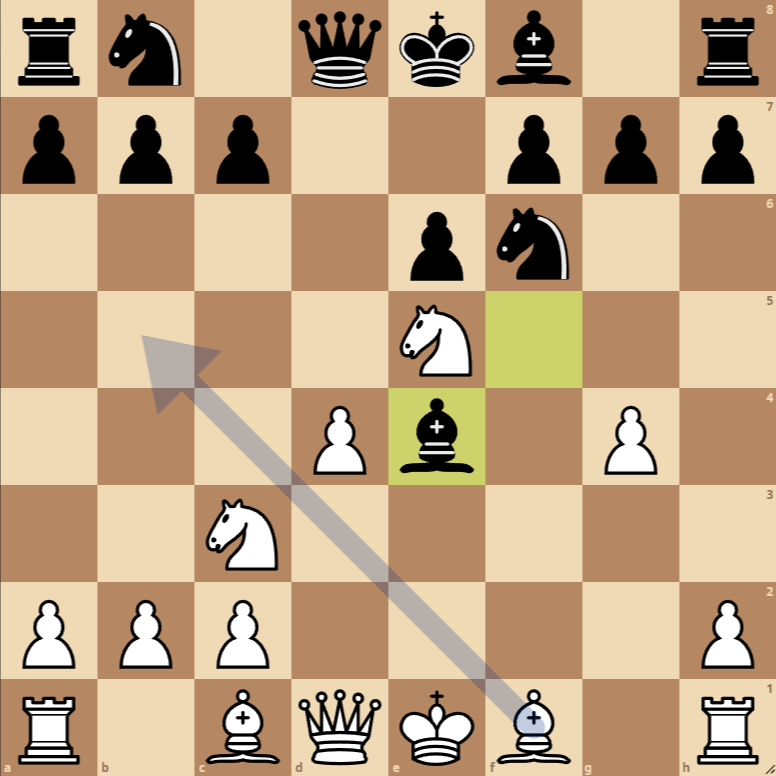
- 7. g4 Be4: White advances the g-pawn to attack the Black bishop and gain space on the kingside. Black moves their bishop to e4, maintaining pressure in the center.
Variations of the Blackmar-Diemer Gambit Accepted Gunderam Defense Stader Variation
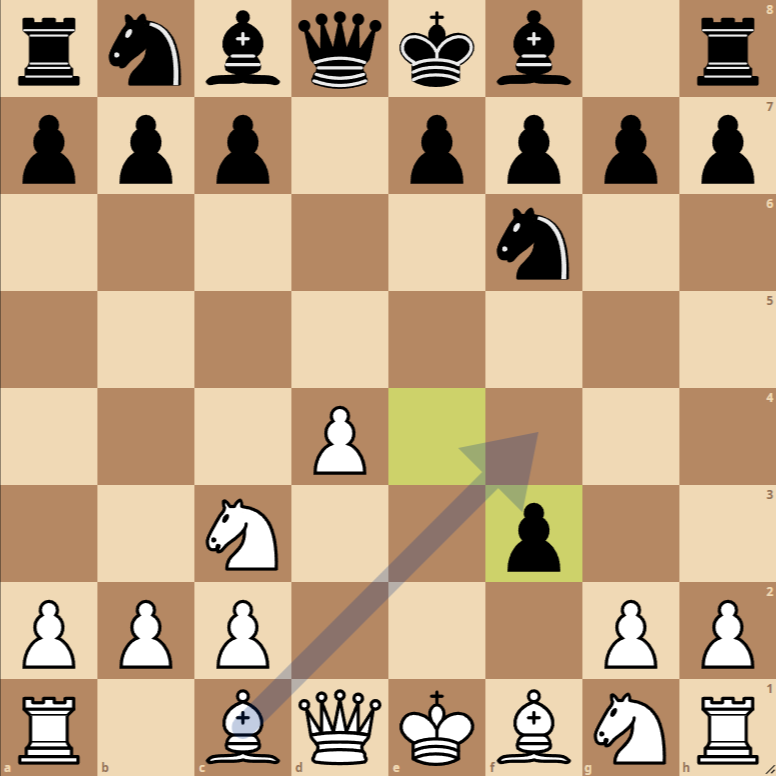
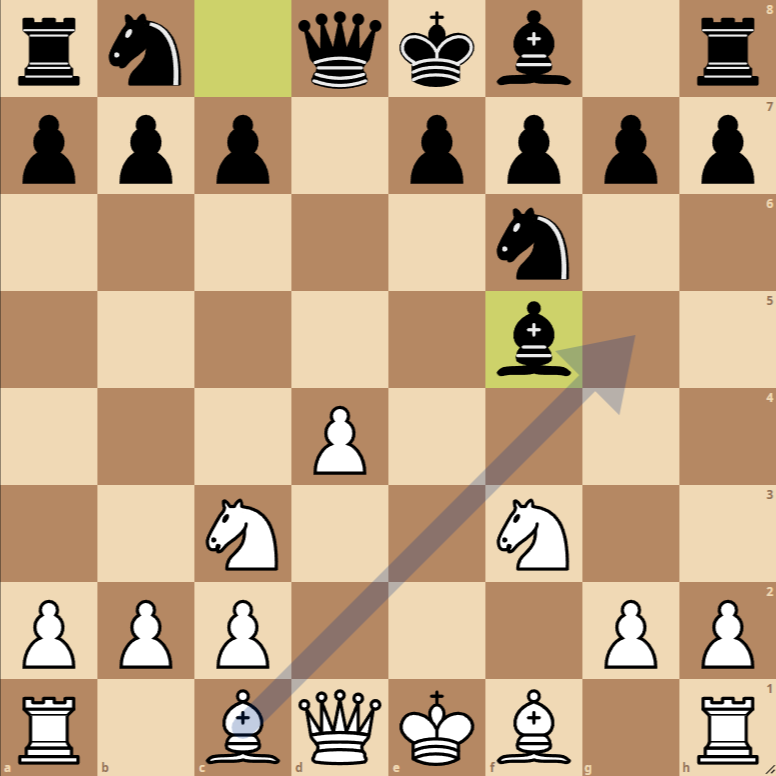
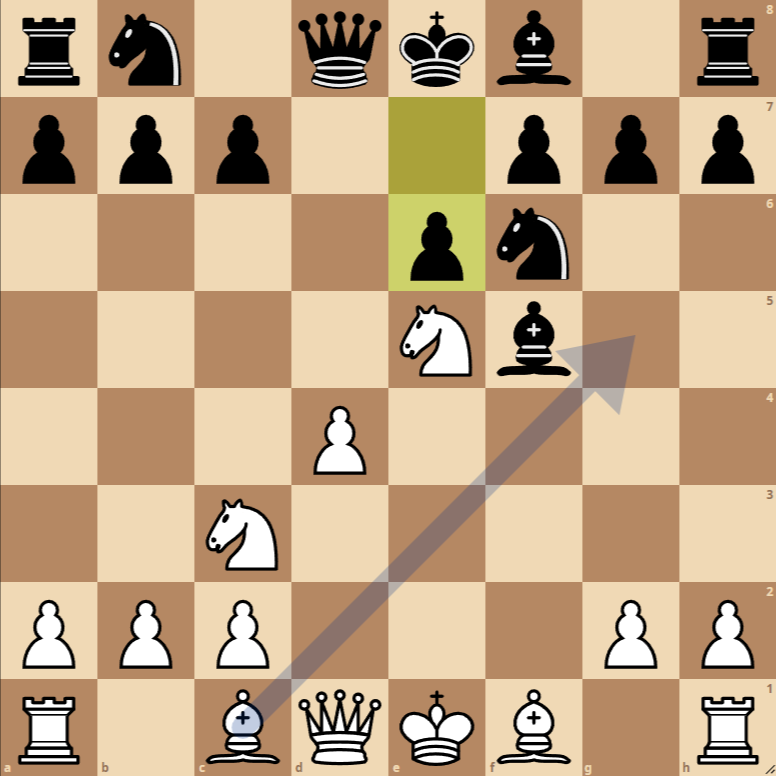
Variation 1: 3…Nf6
This line follows the Gunderam Defense, where Black plays Nf6 in response to the gambit, aiming for solid play and preparing counterplay in the center.
Variation 2: 7…Be4
In this variation, Black chooses to place their bishop on e4 after White plays g4, aiming to maintain tension in the center and prepare for possible counterattacks.
The Blackmar-Diemer Gambit
The Blackmar-Diemer Gambit, especially in the Accepted variation with the Gunderam Defense and the Stader Variation, is an aggressive opening that seeks to quickly unbalance the position and create tactical opportunities for White. Through the move sequence 1.d4 d5 2.e4 dxe4 3.Nc3 Nf6 4.f3 exf3 5.Nxf3 Bf5 6.Ne5 e6 7.g4 Be4, White has sacrificed a pawn in exchange for piece activity and attacking chances.
For White:
Control of the center and piece activity: White has achieved significant activity for their knights and is putting pressure on the center. The move 7.g4 is quite aggressive, aiming to displace the Black bishop from f5, where it is well-placed.
Tactical options: After the initial sequence, White has several interesting options:
- Cxe4: Capturing the bishop on e4 with the knight. This removes an active Black piece and opens the f-file for potential rook actions. It’s a move that simplifies the position but maintains central pressure.
- Tg1: Moving the rook to g1 to recapture the pawn on g4 with the rook. This increases rook activity and sets the stage for a potential attack on the opponent’s king, especially if Black decides to kingside castle.
- Cxf7: A knight sacrifice that directly attacks the safety of the Black king. If Black captures the knight with the king, they will be forced into a precarious position, with lost castling rights and the king exposed to attacks.
For Black:
Defense and counterattack: Faced with White’s aggression, Black must find a way to defend while not missing opportunities for counterplay. Piece coordination is crucial, especially in protecting the king and counterattacking in the center and kingside.
Piece placement: The bishop on e4 is well-placed but under attack. Black must carefully consider whether to move the bishop or allow it to be captured, depending on available tactics and mid-game plans.
Counterattack opportunities: Despite the pressure, Black has opportunities to unbalance the position by exploiting weaknesses in White’s pawn structure and possible overextensions. It is crucial for Black to maintain good piece coordination and be alert to tactical opportunities that arise.
In summary, in this phase of the Blackmar-Diemer opening, both sides have significant tactical and strategic opportunities. White seeks to maximize their initiative and pressure, possibly sacrificing material for rapid development and attacks. Black, on the other hand, must find a way to counter this pressure, maintain defensive solidity, and seize the right moments for counterattacks. The choice between Cxe4, Tg1, or Cxf7 depends on the style of play and preference for more tactical or strategic positions.
