How to Play the Blackmar-Diemer Gambit, Zeller Defense


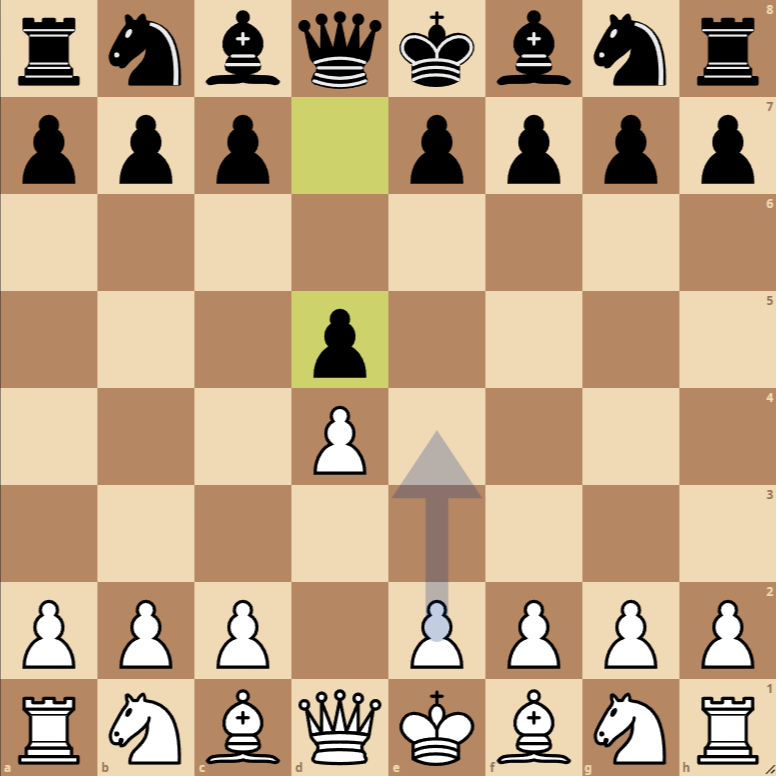
- 1. d4 d5: White starts by controlling the center and preparing the development of their pieces, while Black responds symmetrically, also aiming for central control.
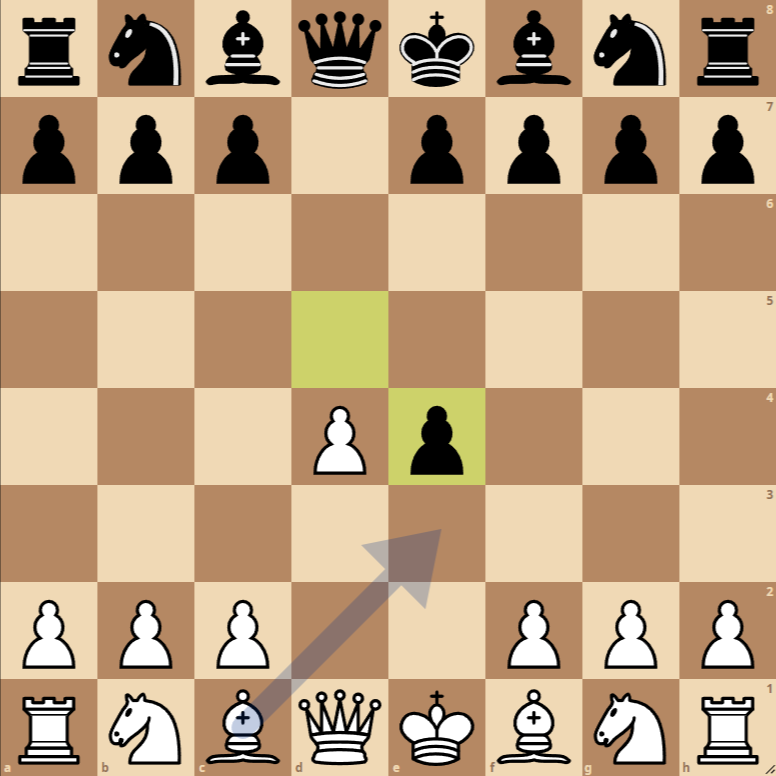
- 2. e4: White offers a pawn with the intention of diverting the Black pawn from d5, aiming to open lines and activate their pieces quickly, typical of a gambit.
- dxe4: Black accepts the gambit by capturing the offered pawn, leading to a more open position.
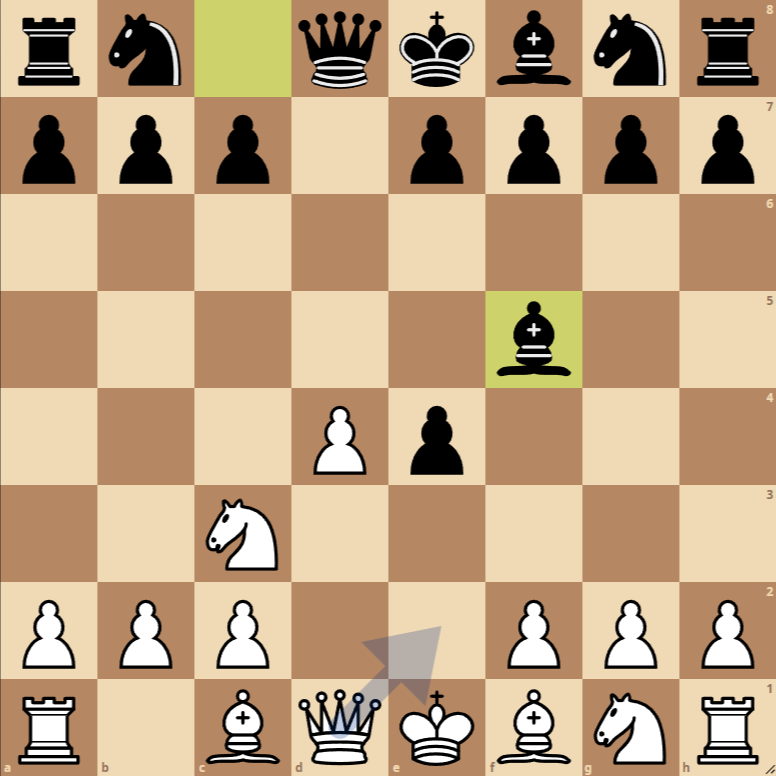
- 3. Nc3: White develops the knight to the center, putting pressure on the captured pawn on e4 and preparing to recapture it.
- Bf5: Black develops the bishop, defending the pawn on e4 and aiming to maintain material advantage.
Variations of the Blackmar-Diemer Gambit, Zeller Defense
1. … e6
An alternative for Black after 1. d4 is to play e6, preparing a more flexible development of their pieces and aiming for central control without committing the queen’s pawn so early.
2. … c6
Another possibility for Black after 2. e4 is to play c6, aiming for a more solid d5 advance or preparing a potential liberation with …d5, offering a sturdier pawn structure.
The Blackmar-Diemer Gambit with the Zeller Defense
The Blackmar-Diemer Gambit with the Zeller Defense after 1. d4 d5 2. e4 dxe4 3. Nc3 Bf5 presents a dynamic position rich in tactical opportunities for both sides. This gambit aims to offer a pawn in exchange for rapid piece mobilization and the fight for initiative from the outset. Let’s explore the strategies and tactics involved for both sides, as well as the following best moves: f3, Bf4, or Nc4.
For White:
General Strategy: White aims to destabilize the center and open lines for their major pieces quickly. The pawn sacrifice on e4 intends to expedite development and create attacking opportunities against the Black king.
Move f3: This is a critical move in the Blackmar-Diemer Gambit. Its goal is to recapture the pawn on e4 and open the diagonal for the white bishop on c1, which can enable rapid development to g5 or f4. Additionally, it prepares the ground for a long castling and a powerful kingside attack.
Move Bf4: Developing a piece with a direct threat, targeting the pawn on c7, and preparing central control. This move also facilitates long castling and maintains pressure in the center and kingside.
Move Nc4: With an eye on the weak f7 pawn, this move aims to create immediate pressure and tactical opportunities against the Black king. It’s an invitation to complicate the position and seek tactical advantages through piece activity.
For Black:
General Strategy: Black has accepted the gambit by capturing the pawn on e4 and aims to consolidate their material advantage while developing their pieces efficiently. The Zeller Defense, with the move Bf5, seeks to maintain the extra pawn and counter the pressure in the center and kingside.
Against f3: Black must be prepared to defend the pawn on e4 or consider the possibility of returning it at the right moment to complete their development and maintain piece harmony. Moves like e6, followed by Nc6 or Be7, can be considered to solidify the position and prepare castling.
Against Bf4 or Nc4: Faced with these moves, Black should focus on finishing their development safely and look for opportunities to counterattack. Moves like e6, c6, or even a timely Be7, followed by Nc6, can help Black rearrange their forces effectively.
In summary, the position after the Zeller Defense in the Blackmar-Diemer Gambit promises a game rich in tactics and aggressive strategies. White aims to compensate for the sacrificed pawn with piece activity and attacking possibilities, while Black strives to neutralize White’s initiative and leverage their material advantage. The correct choice of moves and plans will be crucial in determining the success of each side in this exciting opening.

